Description
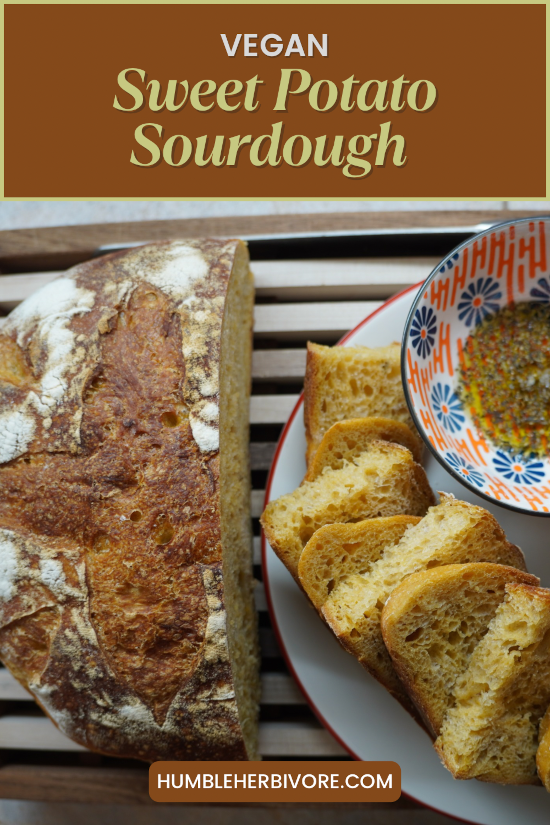
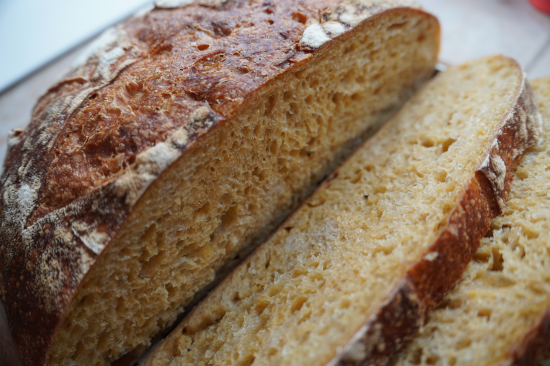
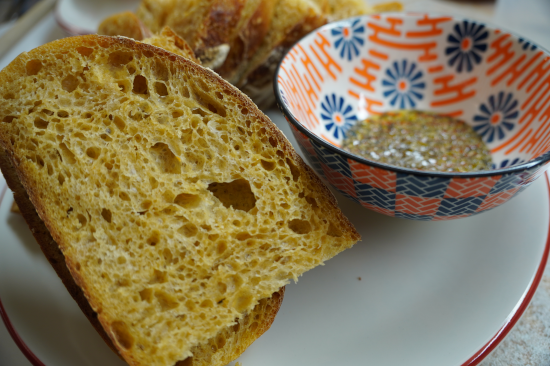
This hearty variation of traditional sourdough incorporates pureed sweet potatoes and molasses into the dough. The outcome is a loaf with an earthy sweetness that balances the tangy sourdough. It is great with soup, dipping in olive oil, and for making sandwiches.
Overview
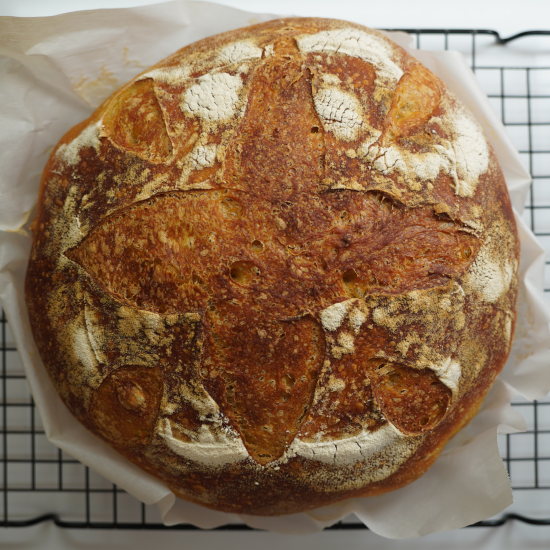
This moist and flavorful loaf is the culmination of a three day process. Pureed sweet potato is kneaded into the dough and is sweetened with molasses. The result is a subtly sweet loaf with amber hue.
For this recipe we assume you have a sourdough starter. There are also a few special equipment considerations as well. You will need a Dutch Oven, bread lame or sharp knife, proofing basket, and a digital kitchen scale.
In the sections that follow we discuss the procedure from a high level. However, in the instructions we break everything down step by step.
Baking Notes
Sweet Potato Prep
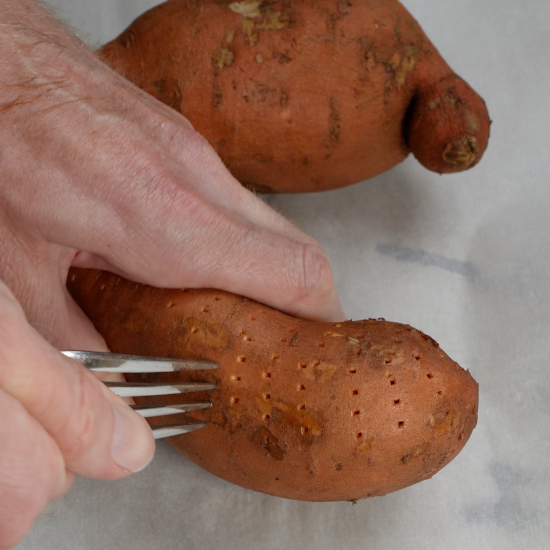
Begin by washing the sweet potatoes in the sink to remove any debris. Dry the sweet potatoes with a towel and line a baking sheet with parchment paper. Carefully pierce the sweet potatoes with a fork, all over the surface, leaving the skin intact.
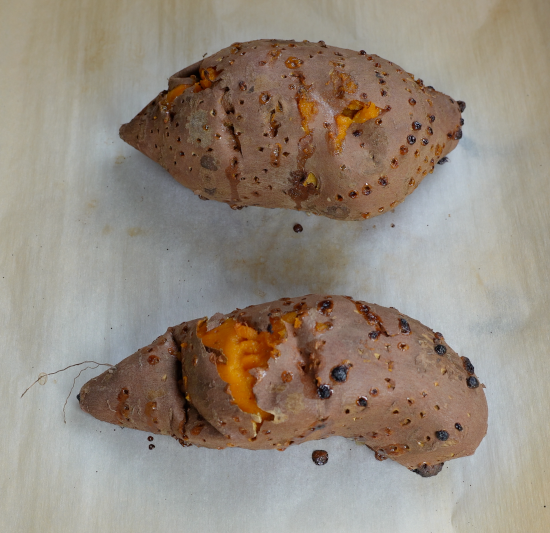
While the oven is cool adjust the rack to the center position and then pre-heat the oven to 425ºF. Once the oven is up to temperature bake the sweet potatoes for 45 – 60 minutes. When the time elapses open the oven slowly and stand off to the side. Carefully stick a fork into the sweet potatoes. If they pierce easily then remove from the oven with potholders and transfer to a wire rack. Otherwise, add time and repeat until tender.
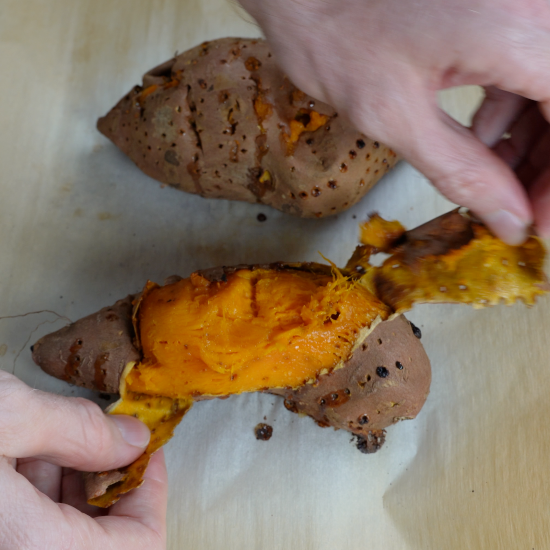
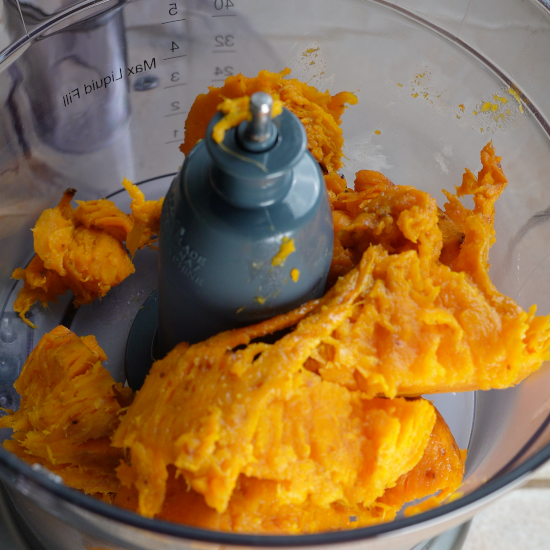
Allow to cool completely on the wire rack before attempting to remove and discard the skins. Once peeled, place the sweet potatoes in a food processor, or blender, and pulse until a smooth puree is formed.
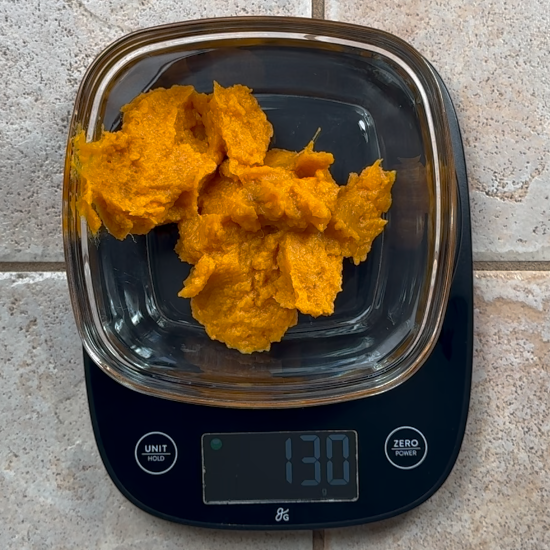
Place a storage container on the scale and tare the scale so that it resets to zero grams. Slowly add the sweet potato puree until you reach 130 grams. Cover the storage container with a lid and transfer to the refrigerator until it is ready to be used.
The extra puree makes for a nice snack. Feel free to place in a separate container and store in the refrigerator until ready to eat. If your containers are similar or the amount that was weighed is comparable to the amount leftover it may be beneficial to add some tape and a marking to the container that is meant to be used in the recipe.
Dry Ingredients
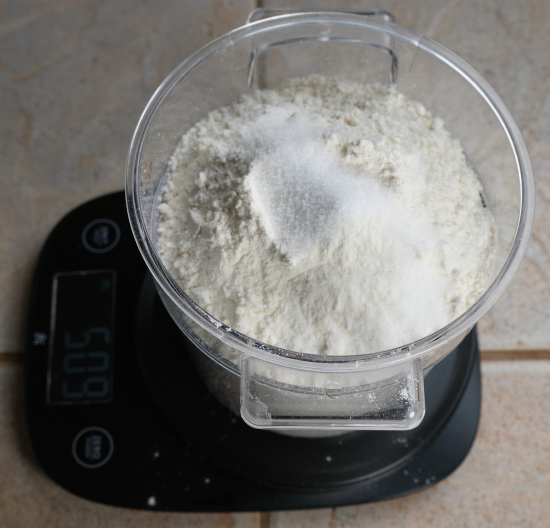
Personally, I prefer to weigh the dry ingredients in a one liter container with a lid the night prior to making the dough. Since I usually make the dough very early in the morning it simplifies the steps involved. In the case of this recipe it allows me to focus on solely weighing the water and starter. Also, since we weighed and stored the sweet potato puree in a previous step it also helps to streamline the process. But you very easily could weigh each ingredient when you are ready to make the dough and add it directly.
Starter
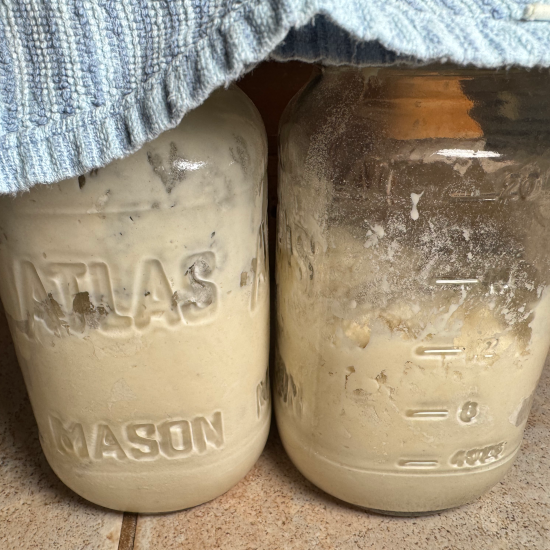
For this recipe I assume you have a sourdough starter on hand. Every week I rotate the mason jar that my starter discard lives in my refrigerator. Usually I just eye-ball about half the discard into a clean jar and feed both with a 1/2 cup of bread flour and a 1/4 cup of water. Mix until the ingredients are combined and cover with a clean dish towel.
After a few hours I’ll loosely screw a lid on the newer mason jar and place in the refrigerator. While leaving the other dish towel covered mason jar of starter overnight in safe location. I prefer to place it in a cool oven on a sheet pan. If you choose to do the same be sure to let others in your household know. We intend to do some baking but the last thing we want is for the starter to get baked unintentionally by loved ones.
Making the dough
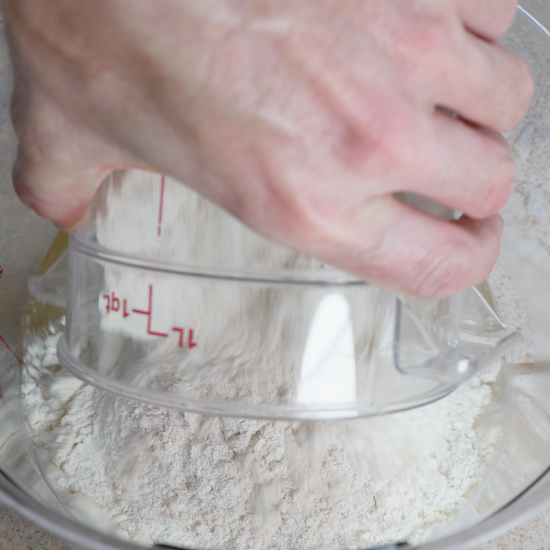
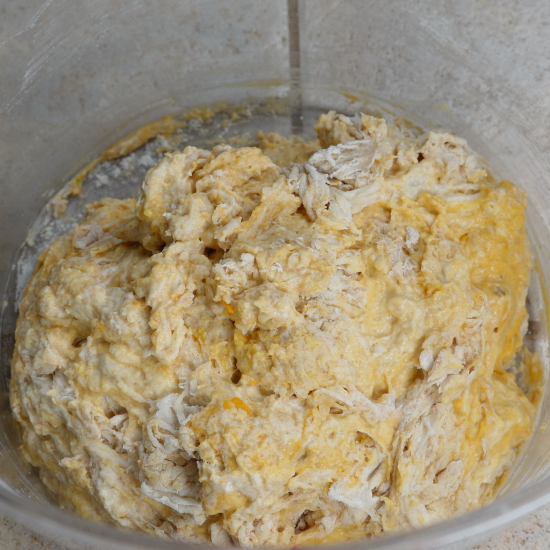
When you are ready to make the dough then weigh the active and bubbly starter and add it with the wet ingredients in a large bowl or container. Next, add the dry ingredients and stir to combine. At this stage cover the container and let the loosely formed dough rest for 30 minutes.
Stretch and Fold
After the time has elapsed remove the cover from the bowl or container and wet your hands in the sink. The water will help keep the dough from sticking to your hands. Turn the container with one hand while the other creates separation between the dough and the base.
Then grab a handful of dough and pick it straight up and fold it back onto itself. Turn the container 90º and repeat stretch and folds until you’ve completed 360º. Then cover the container and let rest for 20 minutes. Complete three more sets of stretch and folds followed by resting for 20 minutes. Then cover the container and bulk rise for four to six hours.
During the bulk rise process it helps to place the dough in a warm location. A proofing drawer is ideal but if, like me, you don’t have one you can use a cold oven and turn on the oven light. If you use this approach be sure to let others in the household know that the oven is being used so they don’t accidentally cook the dough prematurely.

Shape the Dough
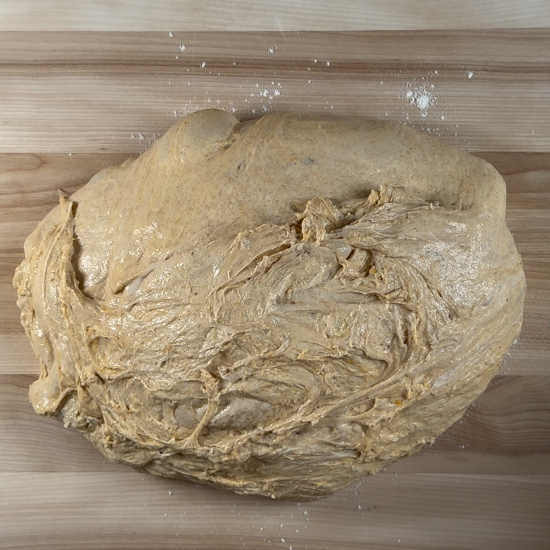
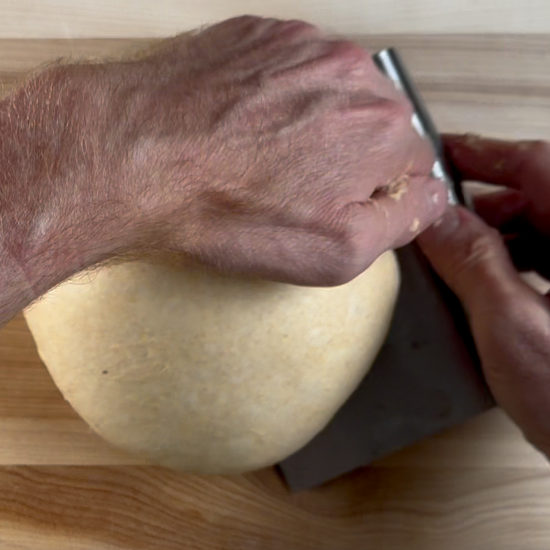
When the dough has roughly doubled in size it is ready to be shaped. Lightly flour a bread board, or work surface, and add the dough. Using a pastry scraper fold the dough onto itself so that all four sides have been folded. Then carefully roll the dough over so that the folded side is now the bottom. Working in small circles with the pastry scraper build up tension on the dough. Continue to work the dough for several minutes until the top is smooth. Let the dough bench rest for five minutes.
While the dough is resting add the liner to the bread basket. Then lightly flour the the liner and set off to the side. The added liner and flour will help to prevent the dough from getting stuck to the basket when it is time to bake. With all the time that has now gone into this process I’m sure you can see how crucial this seemingly innocuous step is.
Perform the final shape by repeating the small circles with a pastry scraper. Then using the pastry scraper scoop the dough and flip it into the basket. Cover the bread basket with a clean dish towel and place in the refrigerator to proof overnight. Alternatively, you can let the dough proof for several hours and and then bake in the same day.
Score and Bake
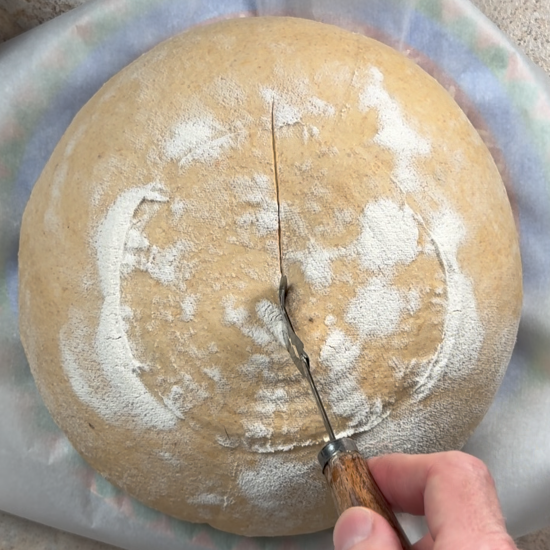
While the oven is cold adjust the rack and place the Dutch Oven inside. Then preheat the oven to 450ºF. While the oven is coming up to temperature add a sheet of parchment paper to a plate. Wait until the oven comes up to temp before scoring the dough. The longer the dough rests on the plate the higher the potential it has to flatten and spread.
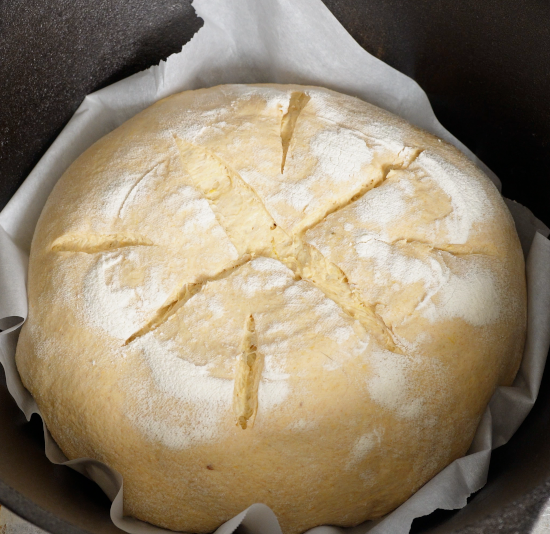
Place the parchment paper lined plate on top of the bread basket. In unison flip both and slowly remove the bread basket. Score the dough with a bread lame, or sharp knife. Remove the Dutch Oven with potholders and take the lid off. Carefully lift the dough with the edges of the parchment paper and place it in the Dutch Oven. Cover with the lid, return to the oven, and set a timer for 45 minutes.
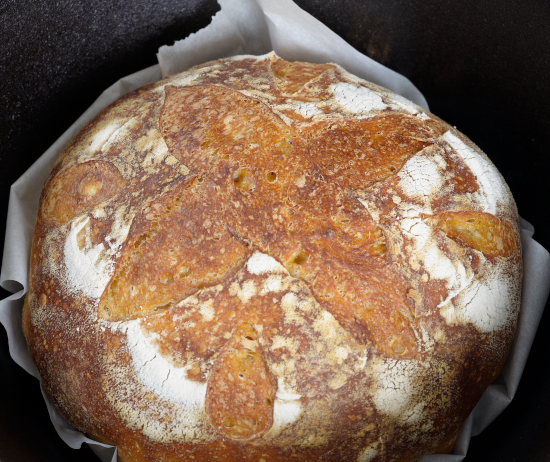
Halfway through the bake use potholders, or oven mitts, to remove the lid. Continue to bake and allow the remainder of time to elapse. Use oven mitts to remove the Dutch Oven. Carefully use a serving spoon or wooden spatula to scoop under the loaf and transfer to a wire rack. Allow the loaf to cool to room temperature before slicing into.

Storage
Place in a bread bag or in a large storage container. The loaf should keep nicely for several days at room temperature before the freshness starts to taper off. To increase the storage time you can slice into pieces and store in the refrigerator.
If you like this recipe be sure to check out our other recipes below:
Sweet Potato Sourdough
Ingredients
100 g starter
350 g water
130 g sweet potato puree
10 g molasses
400 g bread flour
100 g whole wheat flour
9 g salt
Baking the sweet potatoes
- Wash and dry the sweet potatoes and place them on a parchment paper lined baking sheet. Leave the skin on and pierce with a fork all over the sweet potatoes. Bake at 425ºF for 45 – 60 minutes.
- When approaching the 45 minute mark open the oven door slowly and stand back. All the moisture that was in the sweet potatoes will rush out of the oven when the door is opened. Carefully use a fork to pierce the sweet potatoes. If they pierce easily remove them from the oven and allow to cool on a wire rack. If they don’t pierce easily then add time and repeat this process until they are.
- Allow them to rest until they are cool to the touch. Remove the skins and discard.
- Place in a food processor and pulse until smooth. Weigh 130 g of sweet potatoes and then put in a storage container and transfer to the refrigerator until ready to use.
Directions
- Day one – feed 70 g of starter discard with 70 g ( 1/4 cup ) of water and 70 g ( 1/2 cup ) of bread flour later in the day ( around 4-5 p.m. ). Stir to combine. Cover the lid of the mason jar, or bowl, with a dish towel and let the starter rise overnight.
- Day one – Follow the baking and processing instructions above for the sweet potatoes.
- Day one – Use a baking scale to weigh the dry ingredients and store in a container or bowl.
- Day two – add water, sweet potato puree, molasses, and active bubbly starter to a bowl or big container ( I use a 6 qt. container ). Then add the dry ingredients and mix until incorporated. But don’t stress too much if it feels very wet. Next allow the dough to rest for 30 minutes.
- Day two – Stretch and fold the dough, turn the container 90º and repeat three more times to complete a full circle. Then cover the bowl or container and allow the dough to rest for 20 – 30 minutes. Repeat this process three more times.
- Day two – allow the dough to bulk rise for between 4 – 6 hours.
- Day two – On a lightly floured surface, shape the dough by folding it over itself until all four sides have been pulled over and then flip that side to the bottom. Using a pastry scraper work the dough in small circles to make the dough tighter. Allow the dough to bench rest for 5 minutes.
- Day two – Add flour to a towel lined bowl or Sourdough Basket with or without a liner ( I use a basket with a floured liner ). Perform the final shape with the pastry scraper and then flip the dough into the floured basket so that the side that was the bottom of the dough is now facing up in the basket. Cover with a towel. From here you can allow the dough to rise for a few hours and bake the same day, or put the basket in the fridge and allow the dough to rise over night.
- Day three – if you allowed the dough to rise overnight heat the oven to 450ºF with your Dutch Oven inside. When the oven is up to temperature line a plate with parchment paper. Flip the plate and parchment paper upside down so that it is lying on top of the basket. Then carefully flip everything over in unison and remove the basket.
- Day three – Score the dough with a bread lame. Carefully pull the Dutch Oven out of the oven and remove the lid. Using the parchment paper for support, pick up the loaf and drop it in the Dutch Oven slowly. Put the lid back on and put the Dutch Oven in the oven.
- Day three – Bake for 22 minutes. After the time elapses remove the lid from the Dutch Oven and bake for another 22 minutes. Remove the Dutch Oven and then remove the loaf using a wooden spatula or metal serving spoon and let rest on a wire rack. Let the loaf cool completely before cutting into.