We may receive a commission for purchases made through links on this page. Learn More
Description
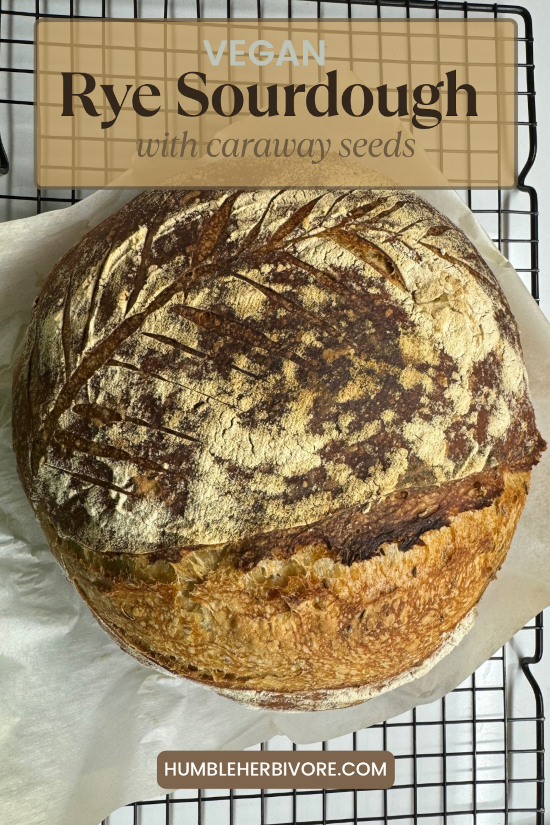
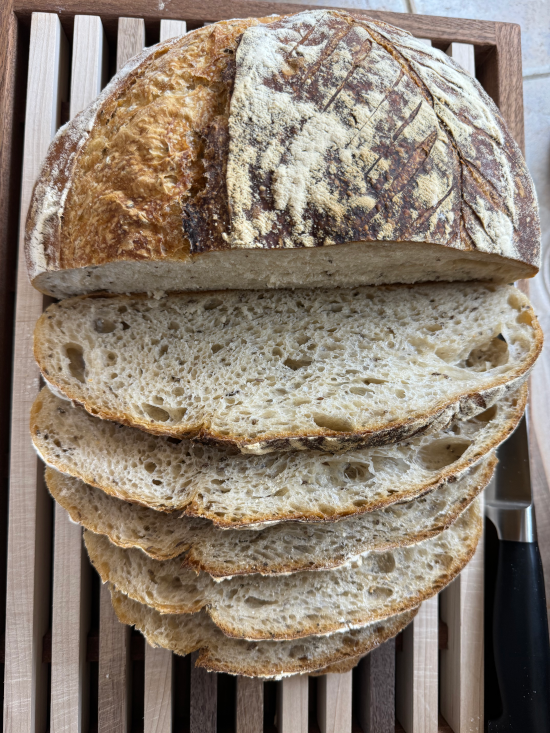
The rye flour gives this loaf a dense, dark color and a slightly sweet, earthy flavor. While the sourdough starter adds a tangy, slightly sour taste and a chewy texture.
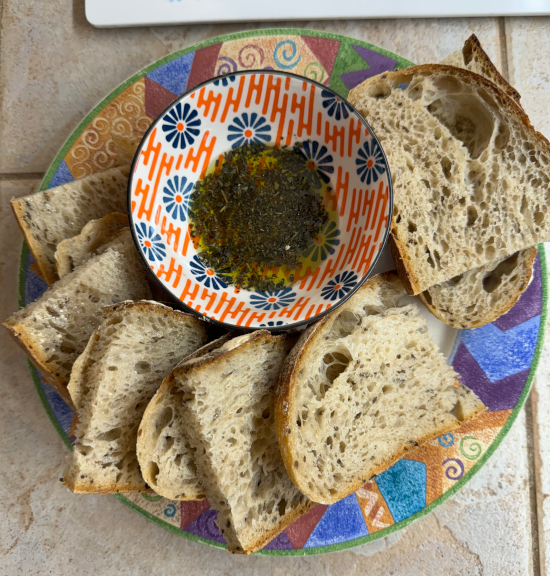
This loaf works great as a side but easily steals the show. Pair with your favorite soup, snack on with olive oil and herbs, use slices to make your favorite sandwich, or spread avocado over as hot toast.
It is easy to see why this loaf has made its way into my rotation of weekly sourdough baking along with:
Overview
Whether you are seasoned, or brand new, to the art of sourdough bread baking this post has you covered.
So settle in and let’s discuss the three day process involved to produce delicious, bakery quality sourdough, from the comfort of your own home.
Of course there is one caveat that we will need to address first.
Sourdough Starter
This recipe does make one assumption and that is that you have your own active sourdough starter on hand.
Some ways to acquire a sourdough starter include:
- Sourcing some from a bakery or friend who has a sourdough starter
- Use a kit such as this one from Amazon
- Create your own from scratch following this guide from the King Arthur flour website
Once you have a starter they are easy to maintain. Simply feed the starter once a week at the same time you are feeding the starter for your sourdough recipe of choice. Then store in the back of the refrigerator with a lid very loosely fastened.
The reason you want to allow the lid of the sourdough starter to be very loose is because the starter will release gas ( it is a fermented food after all ). If the gas has no where to go then potentially the jar could crack, or worse, explode.
Personally this has never happened to me but I have read about it happening to other people. So just be mindful of the starter lid and there should not be any issues.
Feed the Starter
Now that we’ve covered the fundamentals let us turn our attention to the task at hand. Feeding the starter is as straightforward as it sounds. Regardless if you have a mature starter that you are pulling out of the refrigerator or starting one from scratch.
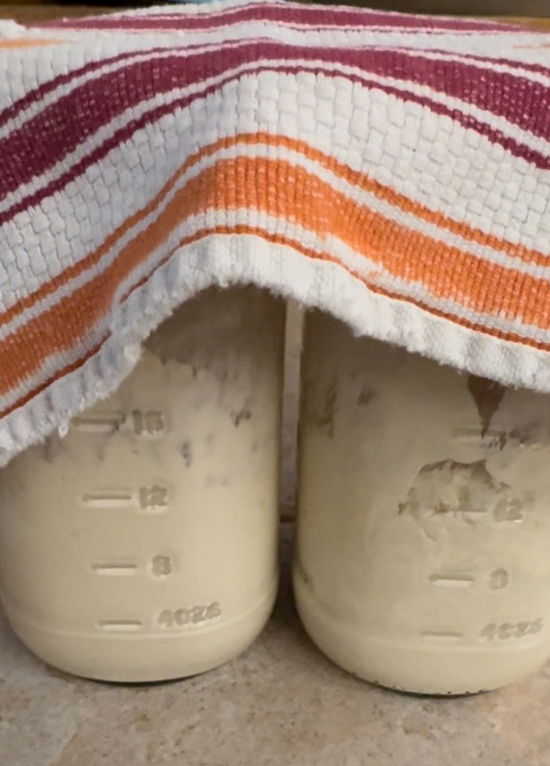
In the evening I will discard some of the existing starter and feed the starter 1/2 cup flour and a 1/4 cup of water. Which is about 70 g of each. Within the bread baking world it is the status quo to weigh your ingredients.
I make an exception for the starter because even if you weigh both to the gram there will inevitably be evaporation that has happened over the week ( in the case of having a mature starter that lives in the back of the refrigerator ) or even over the course of the night.
During this process I will have two jars with fed starter. Both jars will remain at room temperature for an hour or two. After this duration I will loosely add a lid to one of the jars and put that in the refrigerator. The other jar I usually put in a cold oven. Which keeps it out of sight, out of mind, and out of harms way. If you have a significant other it is best to give them a heads up if you use this approach.
Starter Maintenance
It goes without saying but it is best practice to rotate your jars each week. Don’t fall into the habit of continually feeding and using the starter from the same jar. Use a clean and sanitized jar or bowl at each feeding.
Just because the starter is a fermented food does not mean you should see any of the following. In fact if you do you need to throw the starter away and start over:
- Mold – If you see anything growing on the jar or in the starter this is no good.
- Discoloration – Starters naturally have a milky color. If you see any colors from the rainbow that should be a red flag.
- Musty odor – A starter should smell yeasty, fruity, and sweet. If the words rancid, rotten, or pungent come to mind then it is best to throw it out.
In the four plus years that I have had my starter I have never experienced any of the signs highlighted above. Which can be attributed to weekly discard ( throwing some of the starter that is in the jar from the refrigerator ) away and then feeding, in a sanitized jar, for the upcoming recipe of choice.
What is Rye Flour?
Rye flour is a type of flour made from the grain of the rye plant. It is a hard, dark-colored flour that is often used in baking bread, particularly in Eastern European and Scandinavian cuisines. Rye flour is known for its distinctive flavor and texture, which is often described as earthy, nutty, and slightly sour.
Rye flour is made by grinding the rye grain into a fine powder, and it can be used in a variety of ways in baking. It can be used as a substitute for wheat flour in many recipes, or it can be used in combination with wheat flour to create a blend such as with this recipe.
Rye flour is a good source of fiber, iron, and other nutrients, and it is often preferred by those who are looking for a gluten-free or low-gluten alternative to wheat flour.
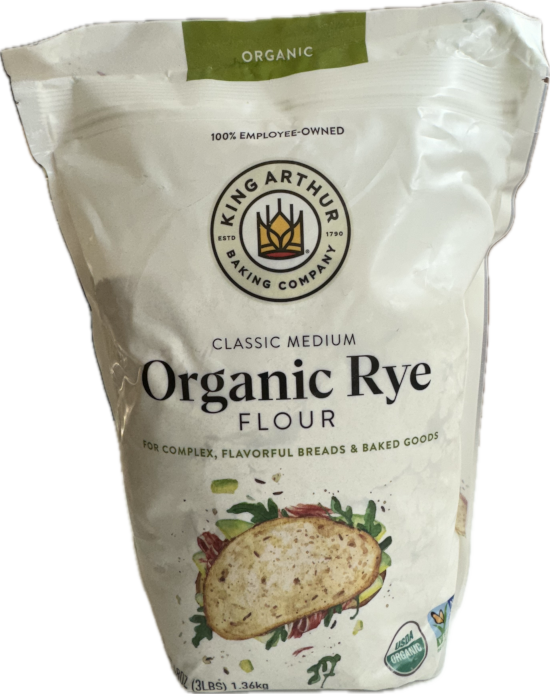
However, it can be more difficult to work with than wheat flour, as it has a lower gluten content and can be more prone to drying out.
What are caraway seeds?
Caraway seeds are the dried fruit of the caraway plant belonging to the parsley family. They are commonly used as a spice in various cuisines, particularly in European and Middle Eastern cooking. Caraway seeds have a distinctive mild anise flavor, earthy with a hint of citrus and pepper, making them a popular addition to many recipes.
Prepping the Dry Ingredients
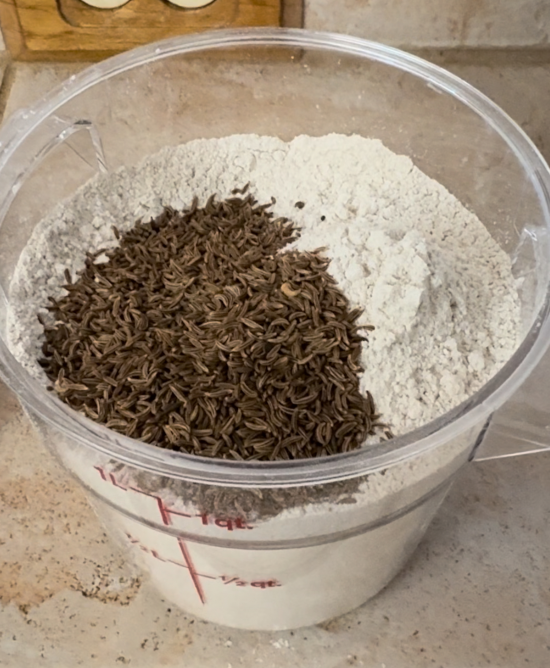
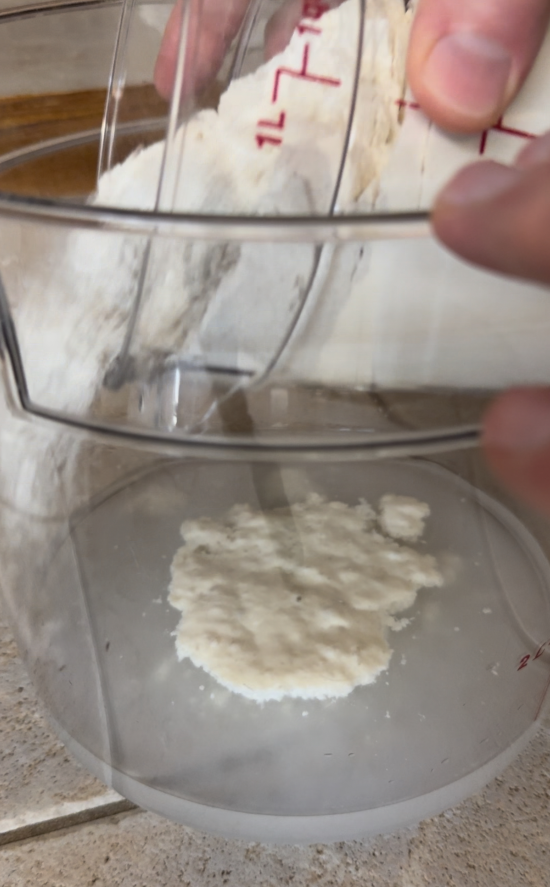
The approach that I like to take is to weigh and store all my dry ingredients in a BPA free container the same evening I feed the sourdough starter. When I combine the dry and wet ingredients to make the dough it is often very early in the morning. So this allows me, in those early hours, to only have to weigh the wet ingredients and then pour in the dry.
My workflow, so to speak, has evolved over the years of making and baking sourdough. You may prefer to weigh and add the dry ingredients when creating the dough. Or you may see improvement in the methods I suggest.
It also goes without saying that you could utilize a different storage container such as a medium mixing bowl or extra mason jar in place of the BPA free containers that I use.
In any case, either approach will suffice. Find what works best for you and go with that.
Stretch and Fold
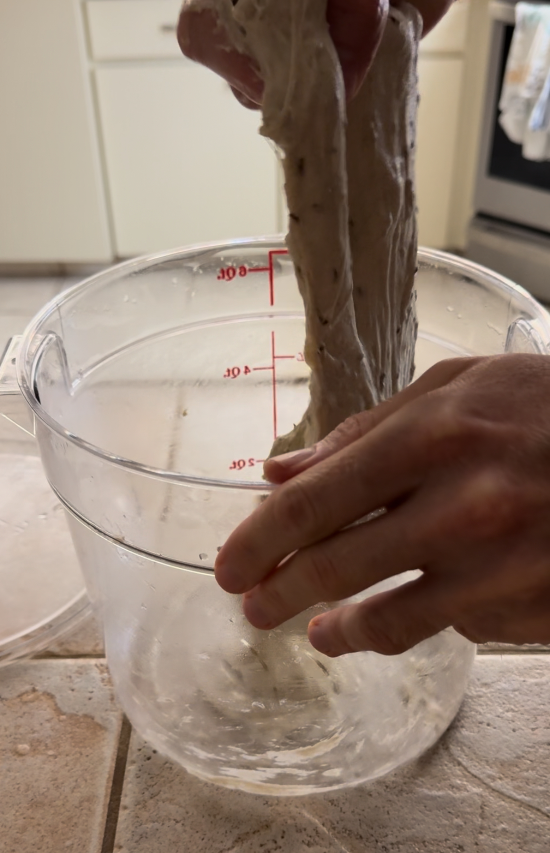
Don’t have a rolling pin? No worries, the stretch and fold method, as the name suggests, doesn’t require one. I have added a YouTube short that demonstrates the process.
To start, rotate the bowl with one hand, and with the other scoop the dough to create separation. The objective is to free the dough from the bottom of the bowl or container. After it rests for awhile you’ll find that it is pretty content being smooshed to the bottom of the container.
Once separation has been achieved it is time to perform the stretch and fold. Simply grab a handful of dough and raise it vertically and then fold the dough back over itself. Turn the container 90º and repeat three more times ( complete one 360º circle ).
From here cover the dough and allow to rest for thirty minutes. Then repeat the stretch and fold process described above. Complete four stretch and fold operations and then let the dough bulk rise for 4 – 6 hours.
Bulk Rise
For this step I place the container in a cold oven. I like this approach because it doesn’t take up counter space and there is little chance of anything happening to the dough aside from a nice proof.
If you use this approach then definitely communicate with others in the house hold. We intend to bake the loaf but not at this stage. So to alleviate any surprises it is good to let others know.
The other added benefit of this approach is that you can utilize the oven light to help things move along. Usually the last two hours before shaping I will turn the oven light on. The little bit of heat the light generates really helps the dough proof.
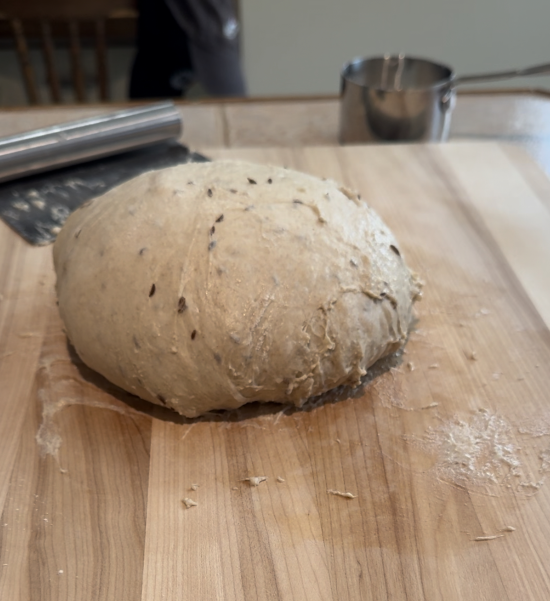
Sourdough Shaping
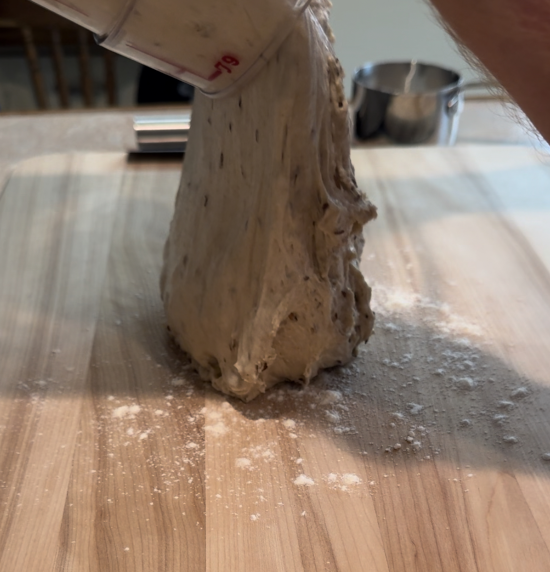
On a lightly floured bread board coax the dough out of the container or bowl onto the work surface. Then using a pastry scraper fold each corner of the dough onto itself. Then use the pastry scraper to roll this side to the bottom.
Make small circles using the pastry scraper to push the dough away, scoop underneath, and pull the dough back towards you. Steadily increasing the surface tension of the bread dough. Allow the dough to rest for five minutes and then repeat the shaping process.
Also at this stage, add flour to the lined proofing basket. The flour will help the dough come out of the basket when it is time to bake.
Once you are happy with the shaping it is time to place in the proofing basket. Using the pastry scraper scoop underneath. In a quick and fluid motion with your hands, and pastry scraper, flip the dough into the floured proofing basket. Place a towel over the top of the basket and place in the refrigerator over night.
Score and Bake
We are in the home stretch at this point. Place the Dutch Oven in the oven and set the temperature to 450ºF. While the oven is coming up to temperature line a plate with parchment paper.
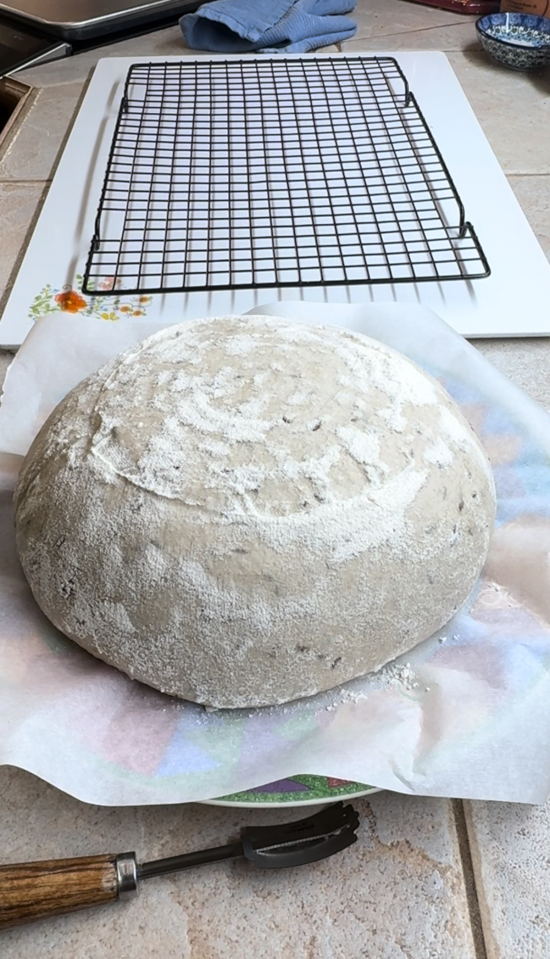
Once the oven is up to temp pull the proofing basket from the refrigerator. Place the plate with parchment paper on top and flip everything over. Gently allow the sourdough to release onto the plate.
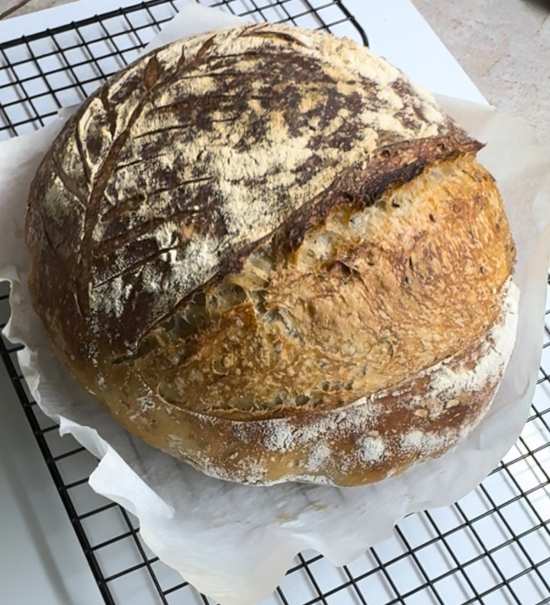
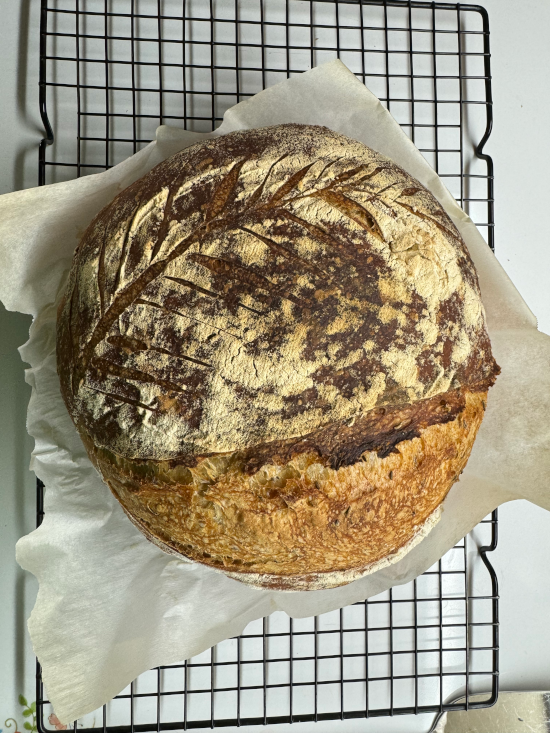
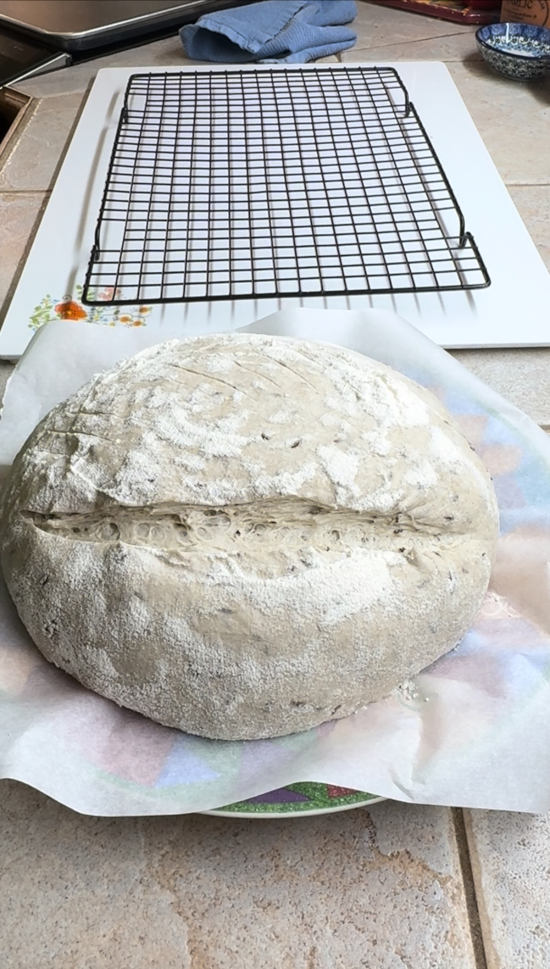
Using a bread lame score the top of the loaf. It can be a simple design to start, such as an ‘X’. Or if you have had a few loaves under your belt feel free to be more artistic.
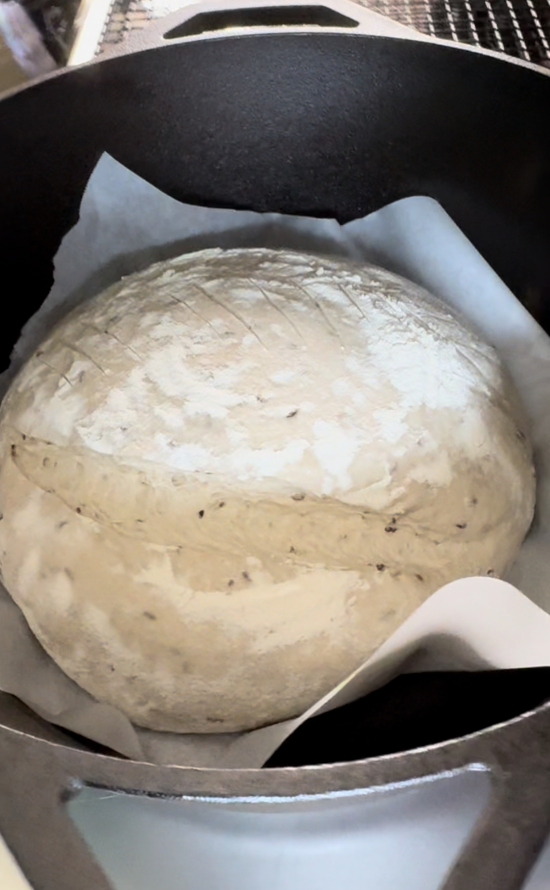
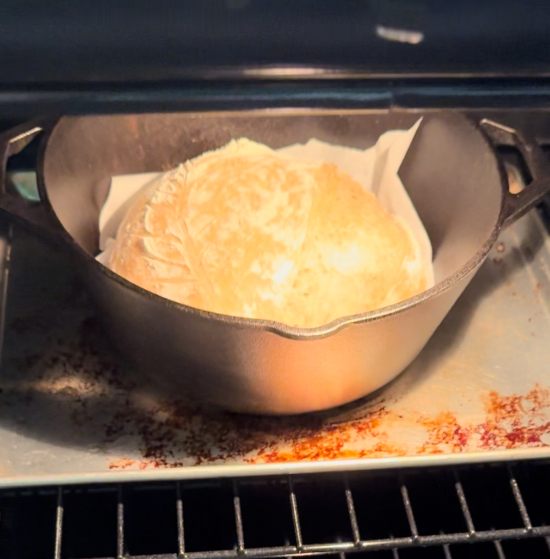
After the loaf is scored use the parchment paper to carefully place in the Dutch Oven. Exercising caution not to touch the Dutch Oven. Using a pot holder or oven mitt place the lid on the Dutch Oven and place in the oven. Bake for 22 minutes and then remove the lid. Bake for another 22 minutes with the lid off.
Once the time has elapsed pull the Dutch Oven. Use a serving spoon to carefully remove the loaf and place on a wire cooling rack. Allow the bread to cool completely before moving or cutting into.
Storage
The loaf will easily last and remain fresh for several days stored at room temperature in a bread bag or a Ziploc bag. After this time frame the freshness will start to taper off. Alternatively, you could slice the bread into slices that are of a more manageable size and place in whatever storage receptacles you have on hand. To increase the storage time you can also freeze part of the loaf to be used at a later date.
Final thoughts
For a complete day by day breakdown of the process I use view the directions under the recipe. Honestly, I use this exact same process for each sourdough recipe that I make. Please feel free to tailor and make the process your own. It is by no means exhaustive and if you were to ask five different sourdough bakers what their process is, you can expect exponentially more answers.
If you liked this recipe be sure to check out our other recipes below:
Ingredients
100 g leaven
390 g water
85 g rye flour
415 g bread flour
9 g salt
12 g caraway seeds
Directions
- Day one – feed 70 g of starter discard with 70 g ( 1/4 cup ) of water and 70 g ( 1/2 cup ) of bread flour later in the day ( around 4-5 p.m. ). Stir to combine. Cover the lid of the mason jar, or bowl, with a dish towel and let the starter rise overnight.
- Day one – Using a baking scale weight the dry ingredients and store in a container or bowl.
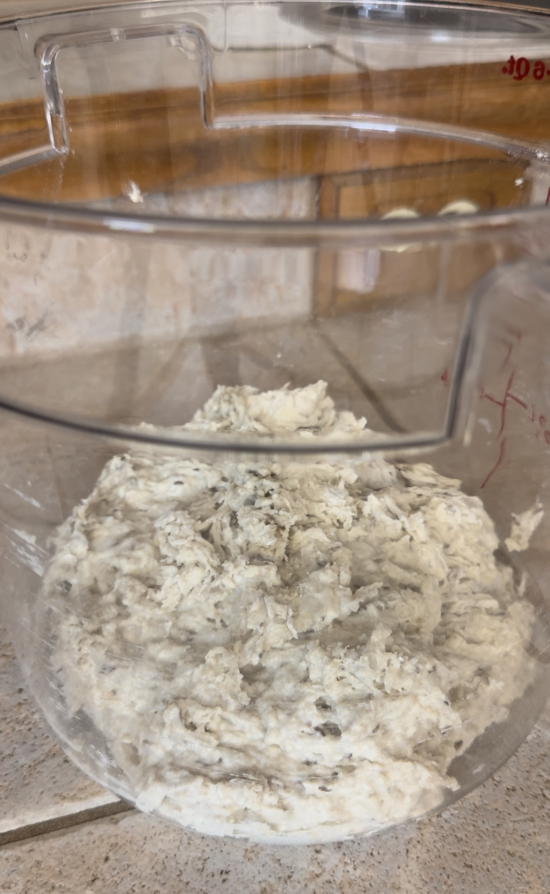
- Day two – add water and active bubbly starter to a bowl or big container ( I use the 6 qt. container from this set ). Then add the dry ingredients and mix until incorporated. But don’t stress too much if it feels very wet. Next allow the dough to rest for 30 minutes. This is also called the Autolyse process.
- Day two – Stretch and fold the dough, turn the container 90º and repeat three more times to complete a full circle. Then cover the bowl or container and allow the dough to rest for 20 – 30 minutes. Repeat this process three more times.
- Day two – allow the dough to bulk rise for between 4 – 6 hours.
- Day two – On a lightly floured surface, shape the dough by folding it over itself until all four sides have been pulled over and then flip that side to the bottom. Using a pastry scraper work the dough in small circles to make the dough tighter. Allow the dough to bench rest for 5 minutes.
- Day two – Add flour to a towel lined bowl or Sourdough Basket with or without a liner ( I use a basket with a floured liner ). Perform the final shape with the pastry scraper and then flip the dough into the floured basket so that the side that was the bottom of the dough is now facing up in the basket. Cover with a towel. From here you can allow the dough to rise for a few hours and bake the same day, or what I do is put the basket in the fridge and allow the dough to rise over night.
- Day three – if you allowed the dough to rise over night heat the oven to 450ºF with your Dutch Oven inside. When the oven is up to temperature line a plate with parchment paper. Flip the plate and parchment paper upside down so that it is lying on top of the basket. Then carefully flip everything over in unison and remove the basket.
- Day three – Score the dough with a bread lame. Carefully pull the Dutch Oven out of the oven and remove the lid. Using the parchment paper for support, pick up the loaf and drop it in the Dutch Oven slowly. Put the lid back on and put the Dutch Oven in the oven.
- Day three – Bake for 22 minutes. After the time elapses remove the lid from the Dutch Oven and bake for another 22 minutes. Remove the Dutch Oven and then remove the loaf using a wooden spatula or metal serving spoon and let rest on a wire rack. Let the loaf cool completely before cutting into.