Description
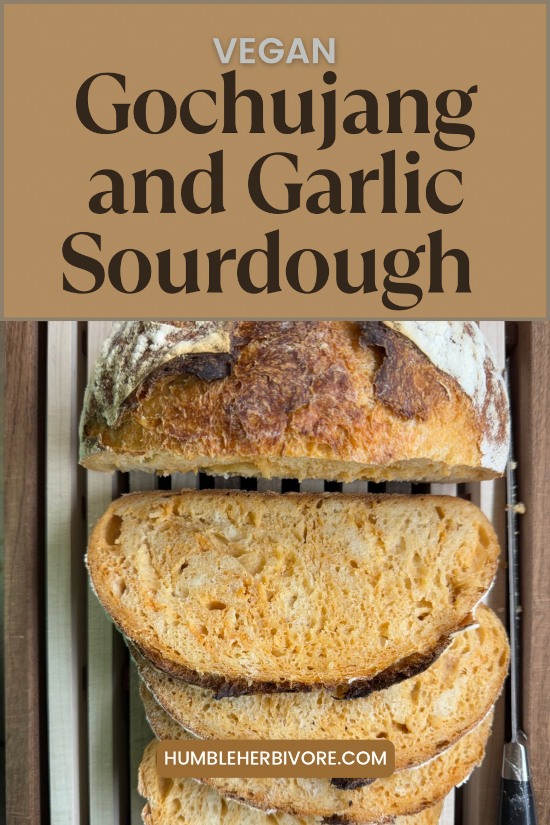
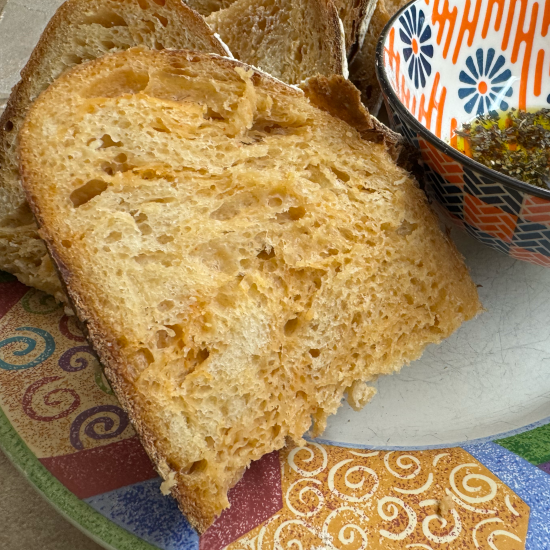
This recipe pairs gochujang with fresh pressed garlic. The umami notes provided by the fermented chile paste teams up with the sharpness of garlic to deliver a complex flavor profile.
Overview
This recipe is the culmination of a three day process. In the baking notes section we give an overview of the various steps involved from a high level. However, in the recipe directions we break it down step by step.
For this recipe we assume you have an active starter. The remaining ingredients should be readily available at your local grocery store with a possible exception for gochujang. I found this ingredient at my local supermarket but have also ordered it from an online retailer.
This recipe is great for sandwiches, smeared in hummus, or dipped in olive oil. It works equally well as a side with soup. Or as a main course in a vegan grilled cheese sandwich. If that sounds good then let’s dive into the process of making the loaf next.
Baking Notes
Feed the Starter
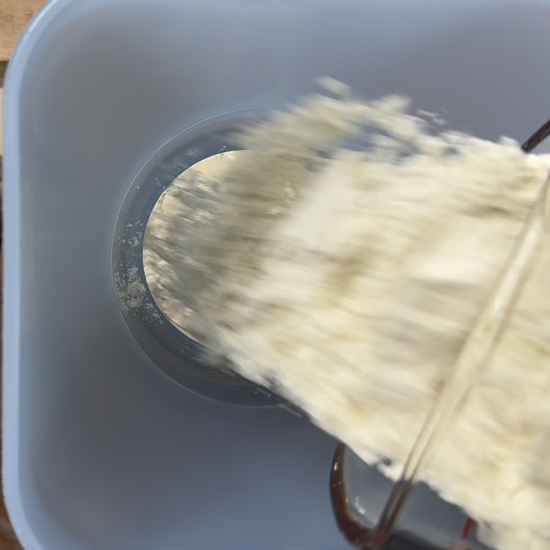
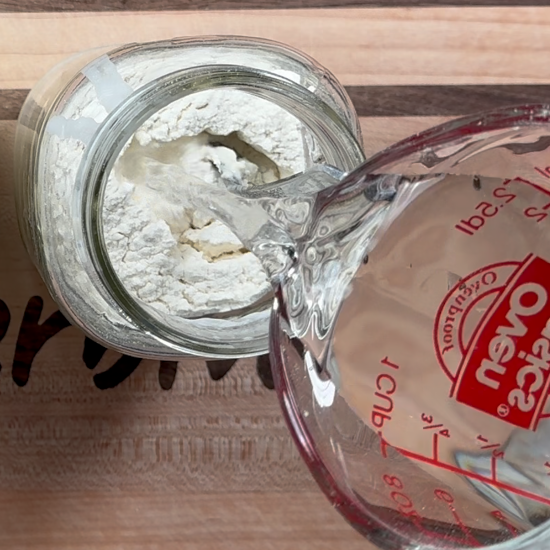
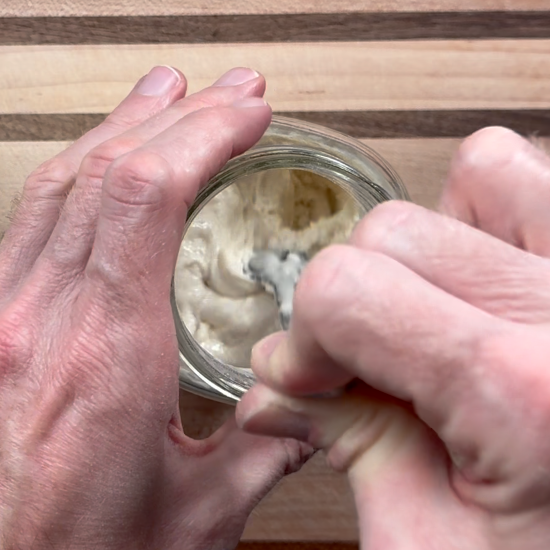
As mentioned in the overview, this recipe requires that you have an active starter. The night before you plan to make the dough feed the starter discard with water and flour. Stir until all the ingredients are combined.
Place a sheet pan in a cold oven and then put the starter on the sheet pan. Placing the starter in the oven will keep it out of sight and out of mind. Which is beneficial if you have small children or pets.
The sheet pan is recommended because on rare occasions the starter can overflow the container that it is placed in. Be sure to let any family members or significant others know that you are placing the starter in the oven to prevent any mishaps (we intend to do some baking but want to prevent the starter from getting cooked before we even start). Place a dish towel over the container and allow to rest overnight.
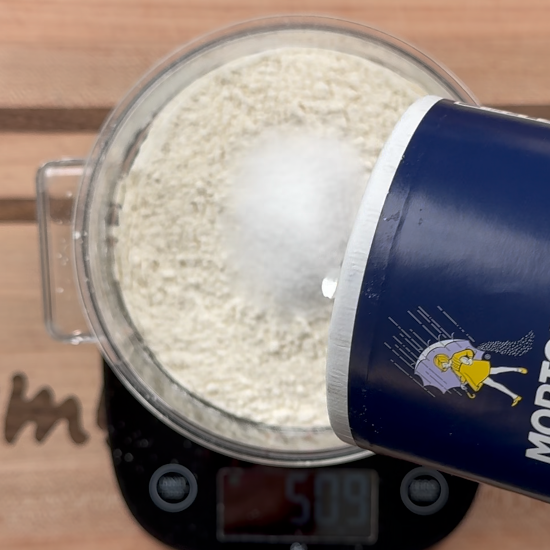
Dry Ingredients
Since the process to make sourdough spans several days I find that weighing and storing the dry ingredients in a container helps to save time. This is just a recommendation and not a requirement. The loaf will taste the same if you add the dry ingredients directly when creating the dough or the method I outlined above. Personally, I make the dough early in the morning. Sometimes before the first cup of coffee has been poured. So this keeps things simple and reduces errors.
Making the Dough
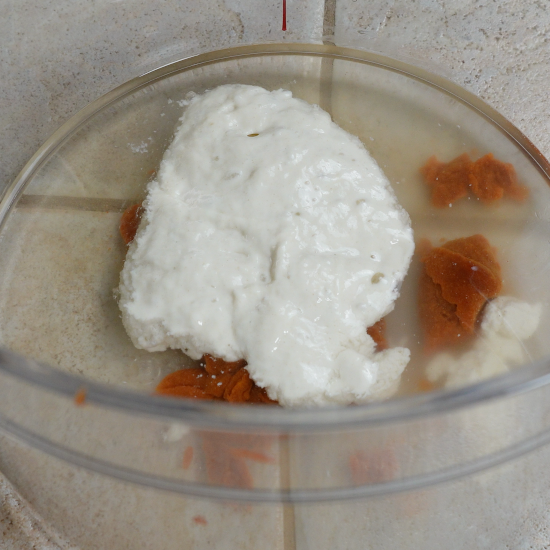
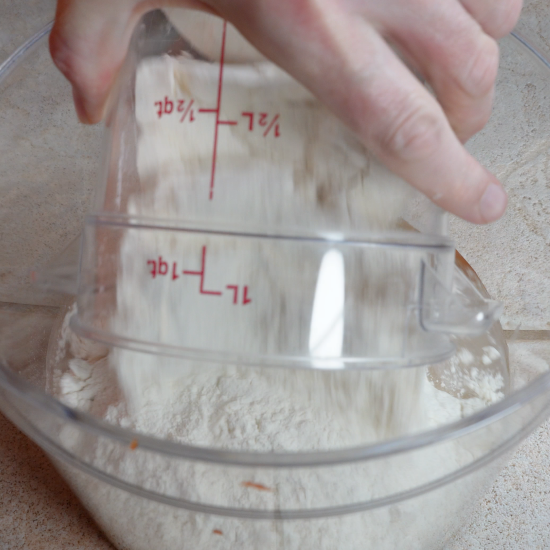
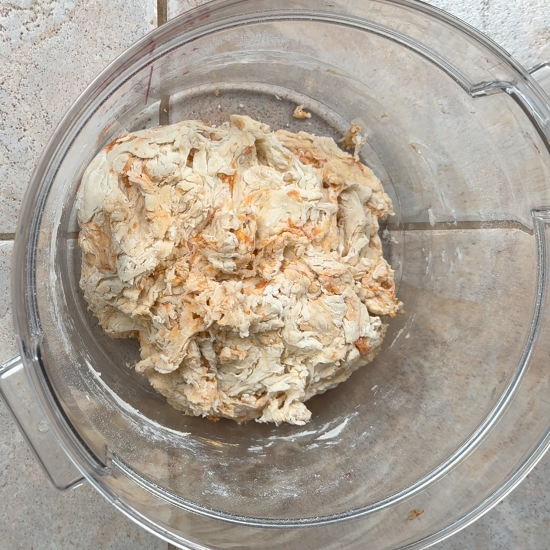
Microwave the water for a minute or two. It should be warm but not scolding hot. In a large bowl or container, add the water, starter, gochujang, and garlic. Then add the flour and salt. Use your hands to mix the ingredients together to form the dough. Let the dough rest for 30 minutes before moving on to performing the next step.
Stretch and Fold
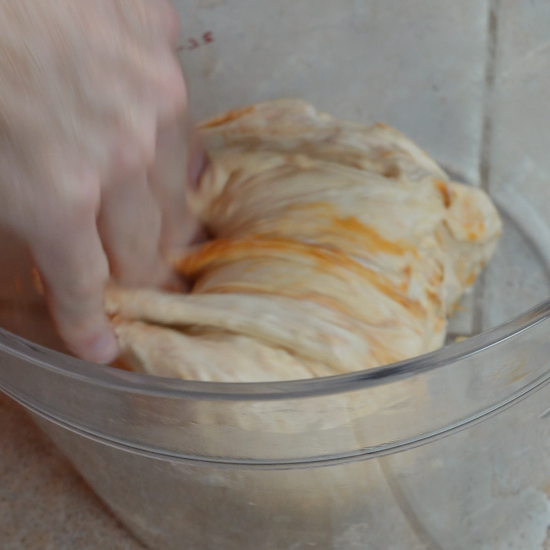
For this recipe you don’t need a rolling pin to work the dough. Stretch and fold, as the name implies, is performed by stretching the dough vertically and then folding it back onto itself. Turn the bowl 90º and repeat the stretch and fold method until you have completed 360º (four stretch and folds in total). Let the dough rest for 20 to 30 minutes and then perform another stretch and fold. Perform three more sets (four total) of resting the dough and stretch and folds. Then let the dough bulk rise for four to six hours.
Shaping the Loaf
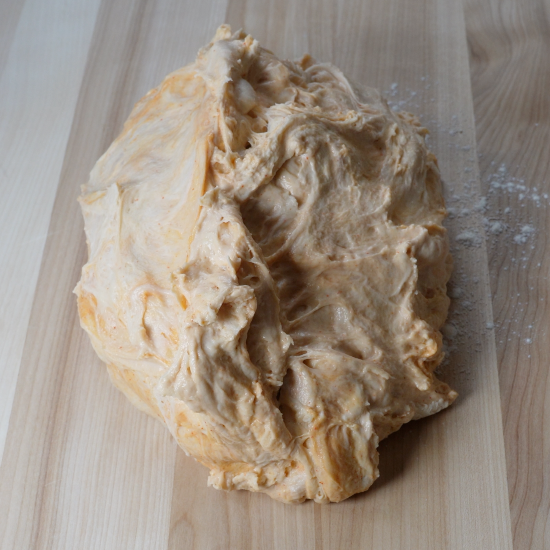
After the dough has finished bulk rising lightly flour a bread board. Place the dough in the center and using a pastry scraper to fold the dough over itself four times. Then carefully roll the folded dough over so that the folds are now resting on the bread board.
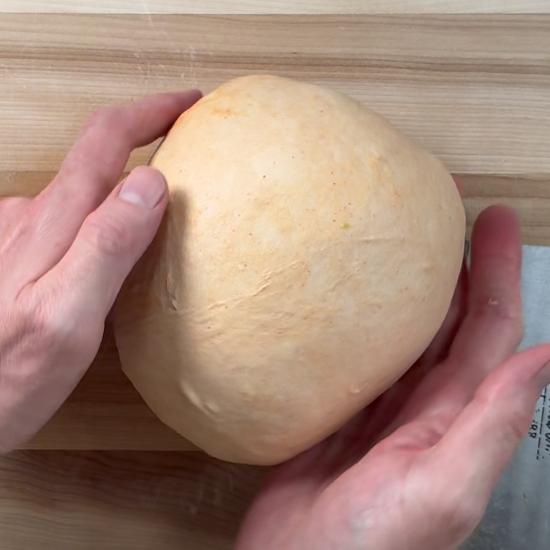
Using a pastry scraper work the dough in small circles. Continue to build up the surface tension until the top of the loaf starts to look smooth. When you are satisfied with the shape allow the dough to bench rest for five minutes.
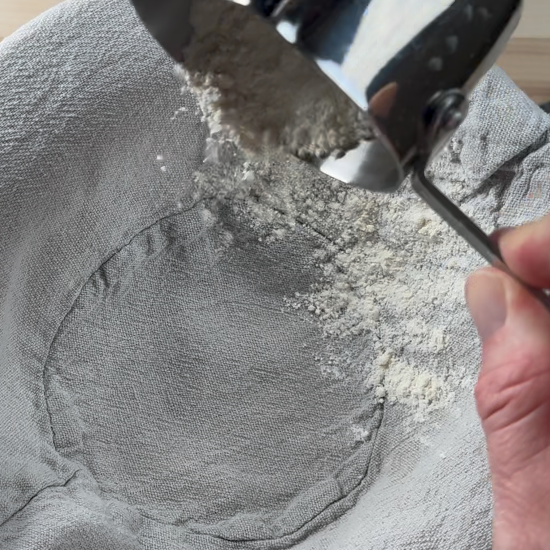
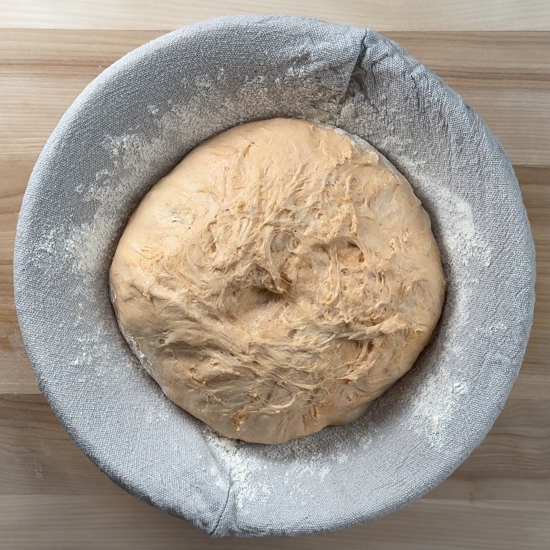
During the intermission flour the bread basket and keep it nearby. Perform the final shape and then flip the dough upside down into the bread basket. Place a dish towel over the bread basket and place in the refrigerator to proof overnight.
Score the Loaf and Bake
Place the Dutch oven on the center rack in the oven. Preheat to 450º and wait to pull the dough out of the refrigerator until it is up to temperature.
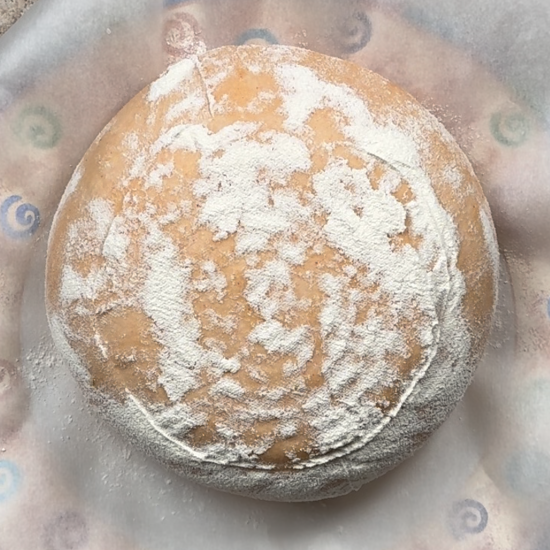
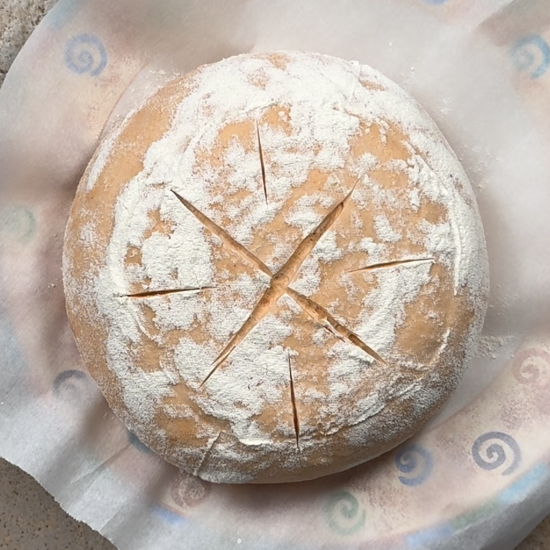
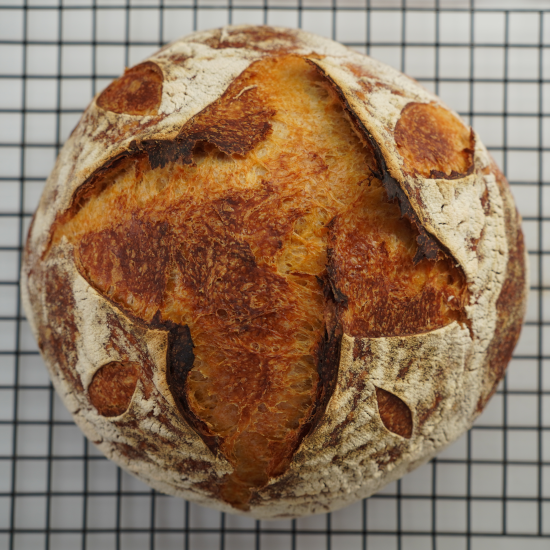
Line a plate with parchment paper and place it on top of the bread basket. Flip both the plate and the bread basket with the dough in unison so that the dough is resting on the parchment paper lined plate. Using a bread lame score a design on the top of the dough.
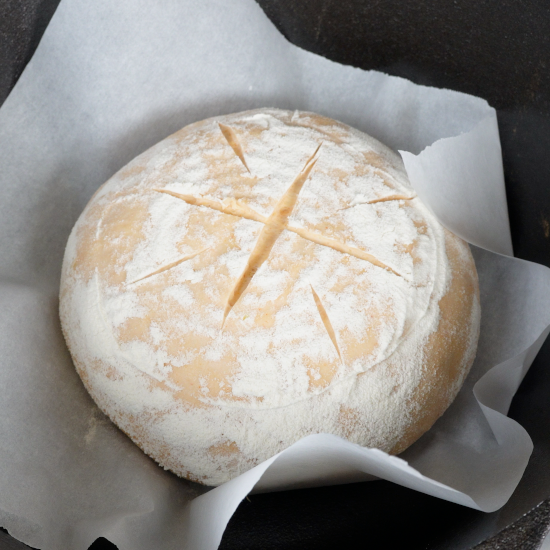
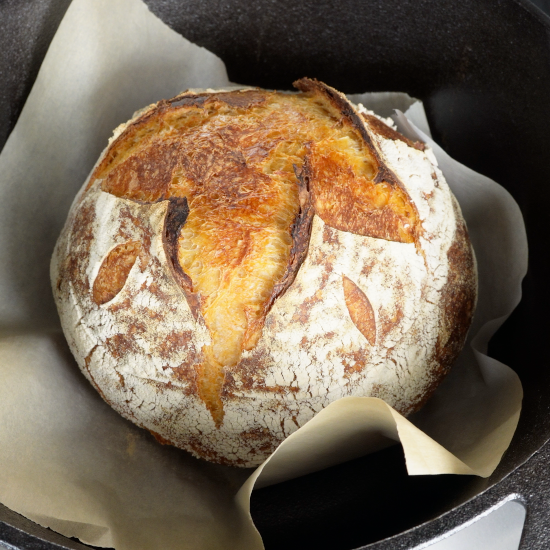
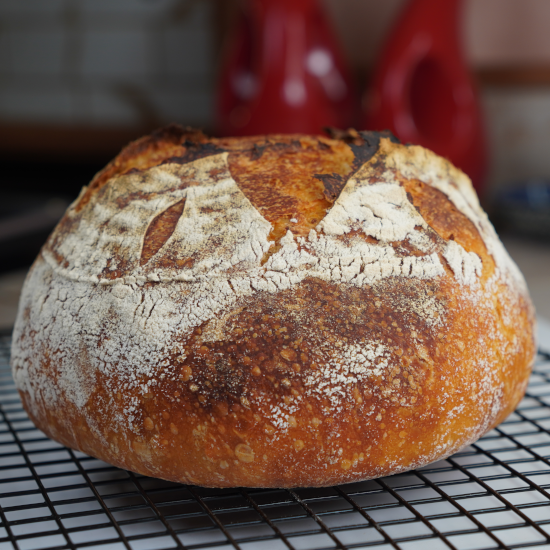
Carefully remove the Dutch oven with pot holders or oven mitts. Place the dough in the Dutch oven with the lid and bake for 22 minutes. After 22 minutes use pot holders to remove the lid and bake for another 22 minutes. Remove the loaf from the oven and allow to cool completely on a wire rack before cutting into.
If you like this recipe be sure to check out our other recipes below:
Ingredients
100 g starter
50 g gochujang
310 g water
3 cloves garlic, pressed
500 g bread flour
9 g sea salt
Directions
- Day one – feed 70 g of starter discard with 70 g ( 1/4 cup ) of water and 70 g ( 1/2 cup ) of bread flour later in the day ( around 4-5 p.m. ). Stir to combine. Cover the lid of the mason jar, or bowl, with a dish towel and let the starter rise overnight.
- Day one – Using a baking scale to weigh the dry ingredients and store in a container or bowl.
- Day two – add water and active bubbly starter to a bowl or big container ( I use a 6 qt. container ). Then add the dry ingredients and mix until incorporated. But don’t stress too much if it feels very wet. Next allow the dough to rest for 30 minutes.
- Day two – Stretch and fold the dough, turn the container 90º and repeat three more times to complete a full circle. Then cover the bowl or container and allow the dough to rest for 20 – 30 minutes. Repeat this process three more times.
- Day two – allow the dough to bulk rise for between 4 – 6 hours.
- Day two – On a lightly floured surface, shape the dough by folding it over itself until all four sides have been pulled over and then flip that side to the bottom. Using a pastry scraper work the dough in small circles to make the dough tighter. Allow the dough to bench rest for 5 minutes.
- Day two – Add flour to a towel lined bowl or Sourdough Basket with or without a liner ( I use a basket with a floured liner ). Perform the final shape with the pastry scraper and then flip the dough into the floured basket so that the side that was the bottom of the dough is now facing up in the basket. Cover with a towel. From here you can allow the dough to rise for a few hours and bake the same day, or what I do is put the basket in the fridge and allow the dough to rise over night.
- Day three – if you allowed the dough to rise over night heat the oven to 450ºF with your Dutch Oven inside. When the oven is up to temperature line a plate with parchment paper. Flip the plate and parchment paper upside down so that it is lying on top of the basket. Then carefully flip everything over in unison and remove the basket.
- Day three – Score the dough with a bread lame. Carefully pull the Dutch Oven out of the oven and remove the lid. Using the parchment paper for support, pick up the loaf and drop it in the Dutch Oven slowly. Put the lid back on and put the Dutch Oven in the oven.
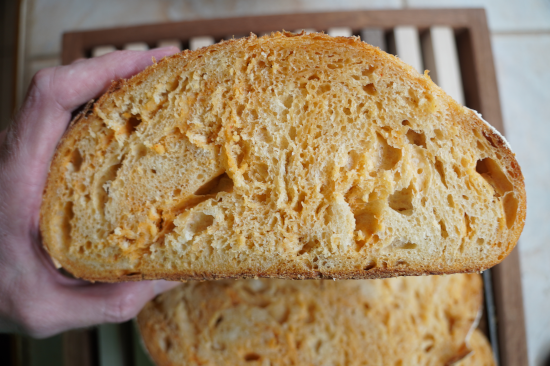
- Day three – Bake for 22 minutes. After the time elapses remove the lid from the Dutch Oven and bake for another 22 minutes. Remove the Dutch Oven and then remove the loaf using a wooden spatula or metal serving spoon and let rest on a wire rack. Let the loaf cool completely before cutting into.