We may receive a commission for purchases made through links on this page. Learn More
Description

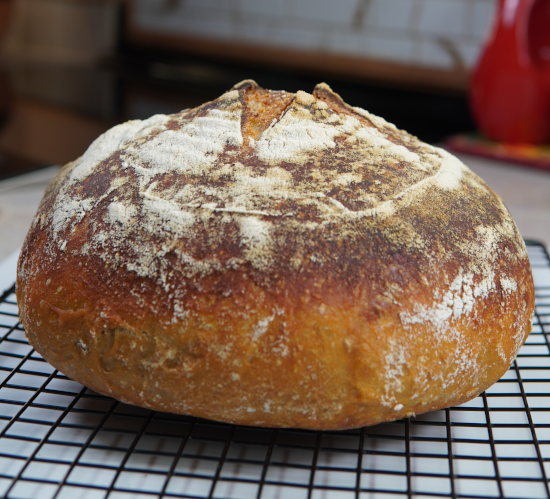
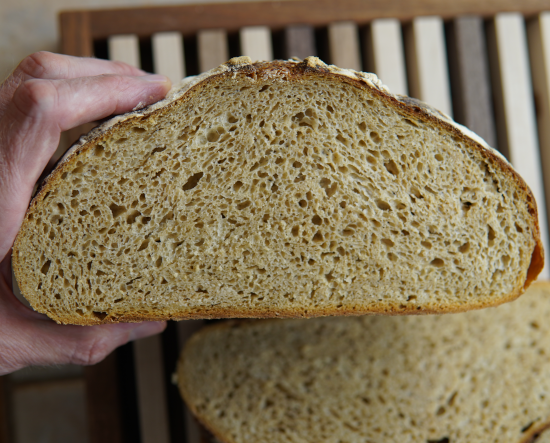
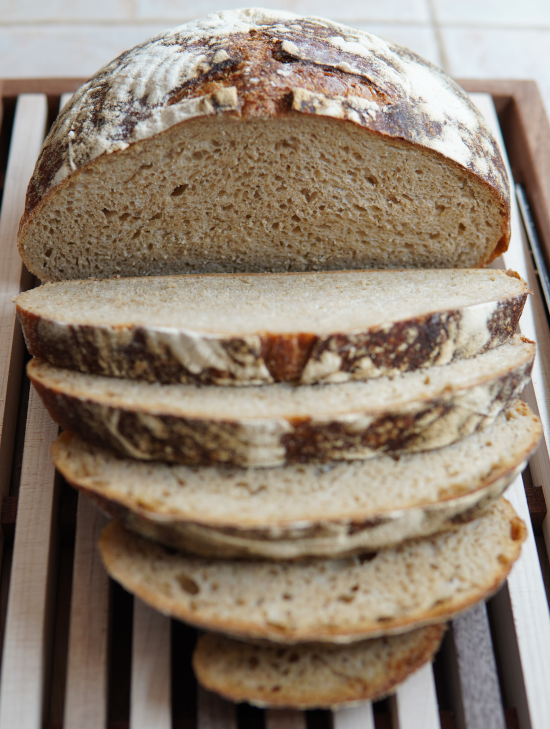
Earthy, nutty, and slightly tangy from the fermentation process. Complete with open crumb and golden brown crust paired with a sweet aroma of toasted grains.This loaf delivers a complex flavor profile with only five ingredients.
Overview
Whole wheat sourdough bread is nutritious and flavorful. The dough is allowed to ferment for an extended period which is what delivers such rich and flavorful notes.
Consisting of five simple ingredients: starter, water, salt, bread flour, and whole wheat flour. These ingredients culminate over a three day process to become something more. Optionally, if time is of the essence it is possible to make this recipe in two days. This post will discuss each of the main steps from a high level but in the directions we break everything down day by day.
Sourdough starter
This recipe does make one assumption and that is that you have your own active sourdough starter on hand. Fortunately, there are a few options that come to mind to solve this issue. Some are a little more involved than others but you can be the judge.
Ways to acquire a sourdough starter include:
- Sourcing some from a bakery or friend who has a sourdough starter
- Use a kit such as this one from Amazon
- Create your own from scratch following this guide from the King Arthur flour website
Leaven, as you will see in the ingredient list, is sourdough starter. More specifically it is fed sourdough starter that has had time to become active and bubbly.
Feed the starter
Since sourdough starter is a fermented culture it needs to be fed periodically. I will discuss starter maintenance in the next section. For now just know that it is possible to keep a starter alive and going for years. For this recipe you will want to feed the starter the night before you want to use it in the recipe.
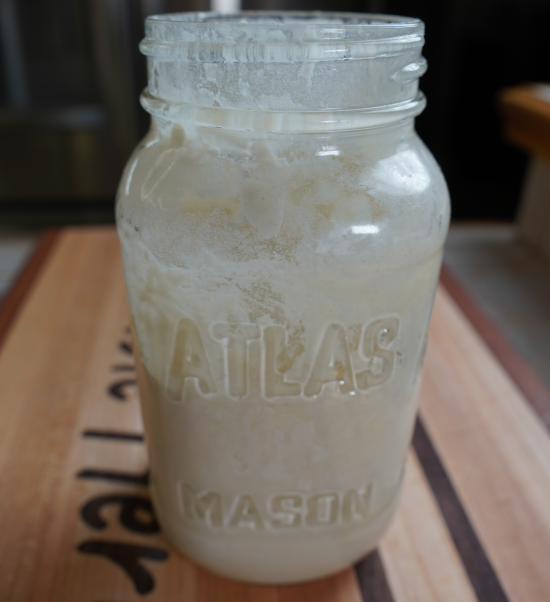
To feed the starter place 70 grams of starter in a mason jar or bowl and add 70 grams each of water and bread flour. Mix everything together and cover loosely with a towel. I like to put a sheet pan on the lowest rack in the bottom of a cold oven and allow the starter to rise overnight.
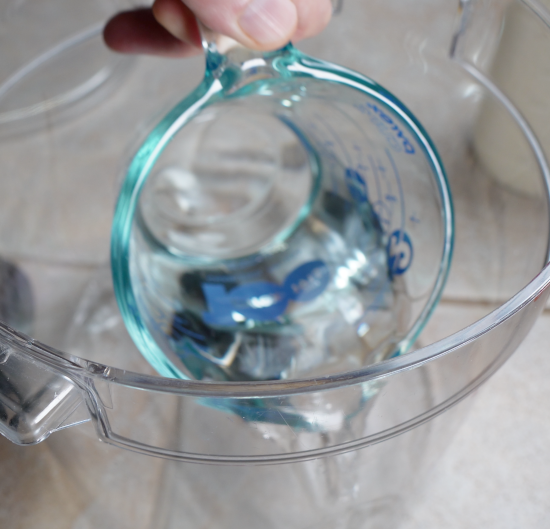
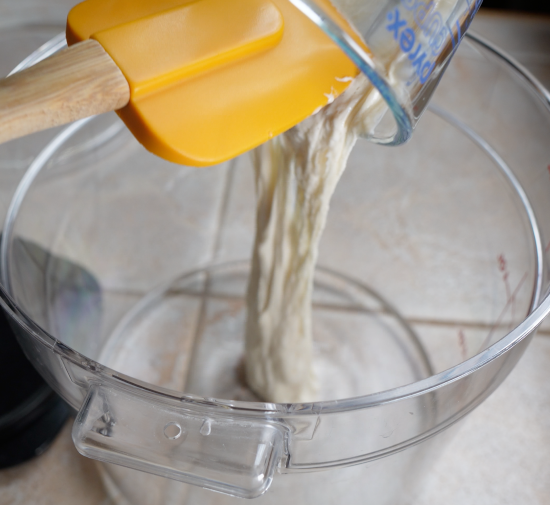
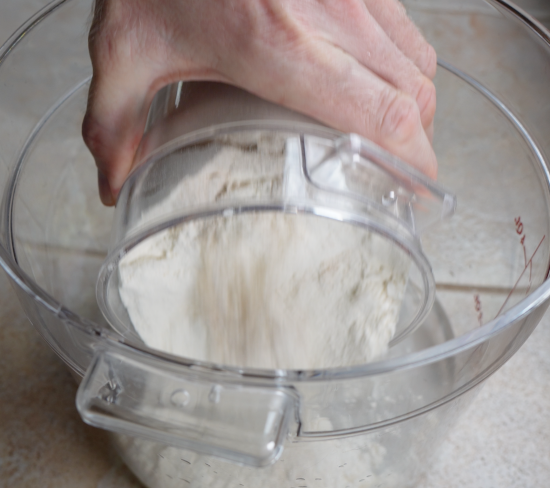
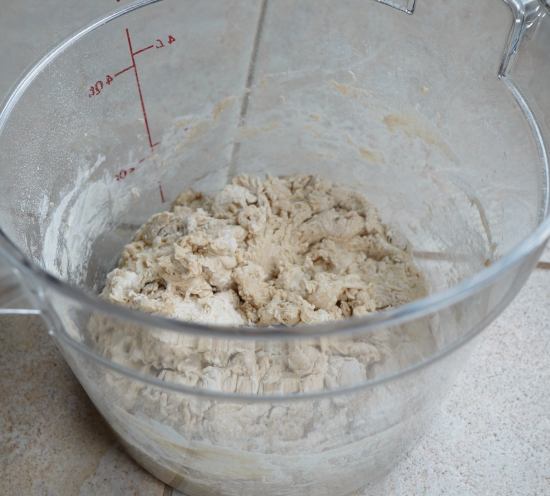
Placing the starter in the oven is my preferred method because it keeps it out of sight and out of mind. By extension this means that the likelihood of accidentally knocking it off the counter or some other mishap is greatly reduced. If you choose to also place your starter in the oven overnight to rise, it is good to let family members know so the starter doesn’t get accidentally baked early.
The sheet pan placement has a dual role. It helps the jar or bowl stay up right a little easier. Also, it is possible that the starter will overflow the container and the sheet pan will contain the spill. It happens infrequently but when it does the clean up process is a breeze.
Starter maintenance
Starter that is leftover from the feeding process is called discard. This leftover starter can be kept in a mason jar with a loose lid in the back of the refrigerator. Since sourdough starter is a fermented food it releases gas. I have never had this happen but if the lid is on tight the jar can crack, or potentially explode. As you may have guessed, this starter discard can be rejuvenated. Simply feed the starter discard the night before your next bake and you will have an active and bubbly leaven ready to go.
Prepping the dry ingredients
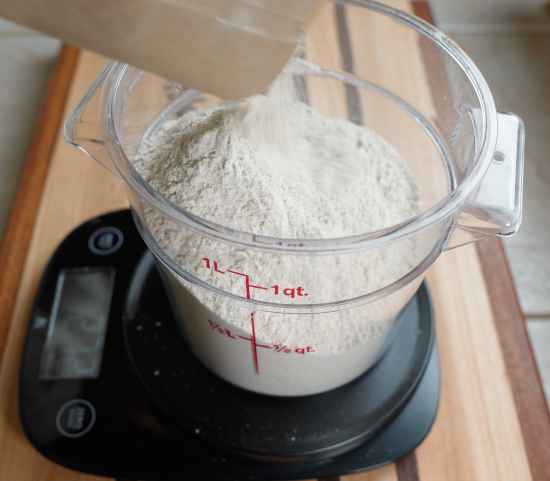
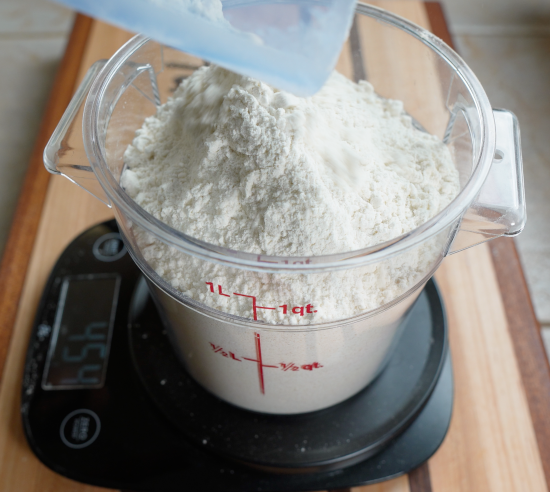
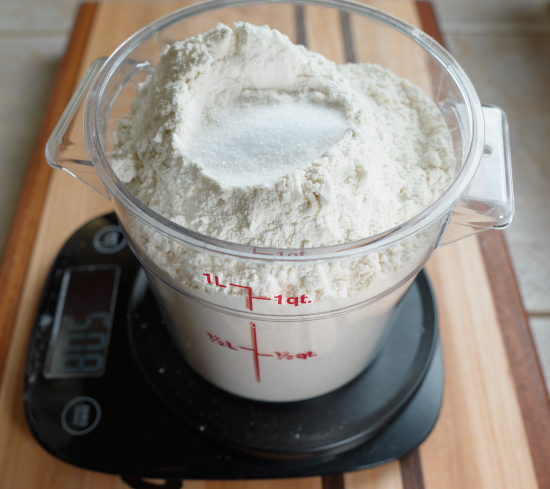
The night before I create the dough I like to weigh and store the flours and salt in a container. This step is completely optional but it makes creating the dough easier in my opinion.
Some sourdough bakers will reserve adding the salt until after the first mixture of the dough, called the autolyse process. The argument being that the enzymes and natural yeast need a head start to become active and the salt will inhibit this process.
In my experience there isn’t a noticeable difference between adding the salt to the dry ingredients when you are creating the dough. Besides, if you forget to add the salt at the later step the bread will be extremely bland.
The other added benefit, if you choose to store your dry ingredients, is that all you have to do is empty the entire container into the mixing bowl when creating the dough. It is usually pretty early in the morning when I’m building the dough so the simpler the better.
Stretch and fold
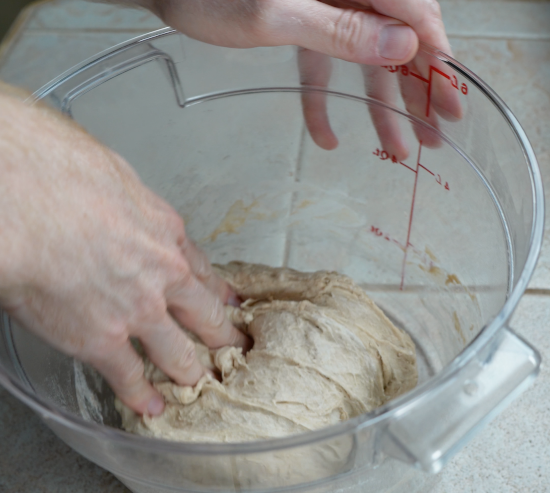
When you combine all the ingredients to form the dough we will use a process called stretch and fold. As the name suggests you grab a handful of dough in a bowl or container, stretch it vertically, and then fold the stretched portion over the top of the dough. Then rotate the container 90º and repeat until you completed 360º.
This process is repeated three or four times usually waiting about 20 – 30 minutes between each stretch and fold. This gives the dough time to relax. Each iteration builds up the gluten and adds structure to the dough.
Bulk rise
After the final stretch and fold is performed it is time to allow the dough to bulk rise. This entails allowing the dough to proof for four to six hours. For this step I also like to utilize storing the dough on the bottom rack of the oven in a container. In the last hour or two of the bulk rise process it helps to turn on the oven light. The little bit of heat that is emitted from the oven light will help the dough rise.
During this stage there aren’t any actions to be performed on the dough. It simply needs time to proof. So unlike the previous step there is no handling of the dough during the bulk rise process. The key takeaway from this step is that the dough should roughly double in size.
Sourdough shaping
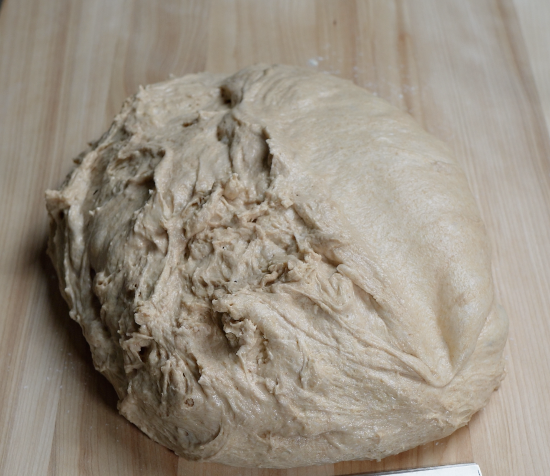
Once the dough has completed the bulk rise it is time to shape it. Lightly dust a bread or pastry board with flour and place the dough in the center. Then stretch each corner of the dough onto itself and flip that side to the bottom. For this step it helps to picture an imaginary compass that you need each corner of the dough to touch one another. With the count being four folds in total.
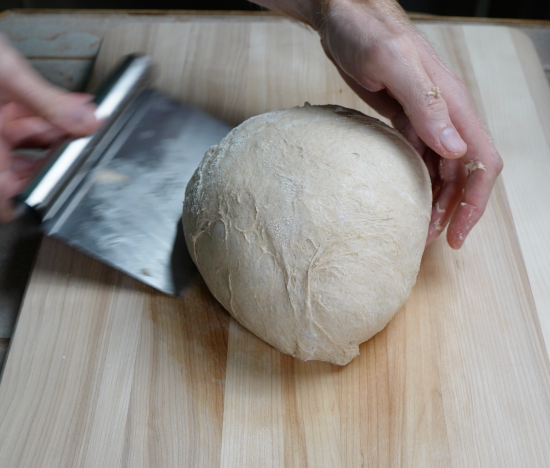
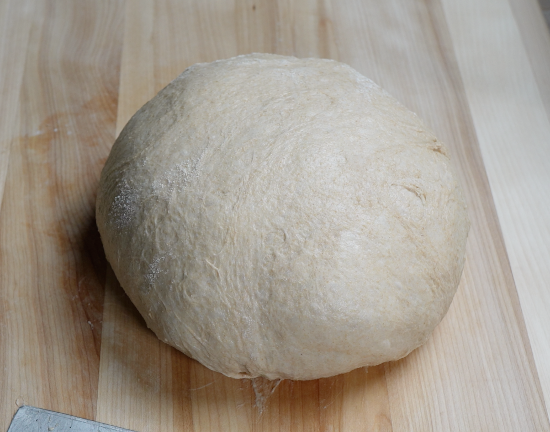
Use a pastry scraper to push and then pull the dough in tight circles. This will build surface tension over the outer layer of the dough and give it a nice spherical shape. If you are just starting out with sourdough baking I would recommend shaping the dough completely with the pastry scraper. As opposed to shaping the dough free hand, as demonstrated at the end of the YouTube short.
When the dough has its first shape complete allow it to sit on the pastry board for five minutes, also known as bench rest. During this intermission flour your bread basket and have it nearby.
For the final shape, perform the same tight circles on the pastry board with the scraper. When you are satisfied use the pastry scraper and your other hand to scoop under the dough and flip it into the floured bread basket. Preferably in one fluid motion so that the bottom of the dough that was touching the bread board is now pointing up to the ceiling. Place a towel over the top of the dough and place in the refrigerator to proof overnight.
Score and bake
This is the home stretch with just a few more steps required to achieve delicious homemade sourdough. As the heading suggests, now we will reap the benefits of our efforts.
Place the Dutch oven with the lid on in the oven and preheat to 450ºF. When the dough is placed in the Dutch oven it will trap the moisture and the steam will help the loaf to rise rapidly. Wait for the oven to come up to temperature before pulling the proofing basket out of the refrigerator.
Line a plate with parchment paper. Place the plate and parchment paper on top of the proofing basket. Flip the basket and plate in unison so that the dough is resting on the parchment paper.
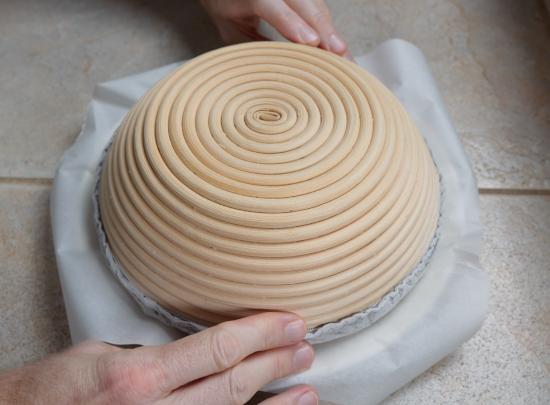
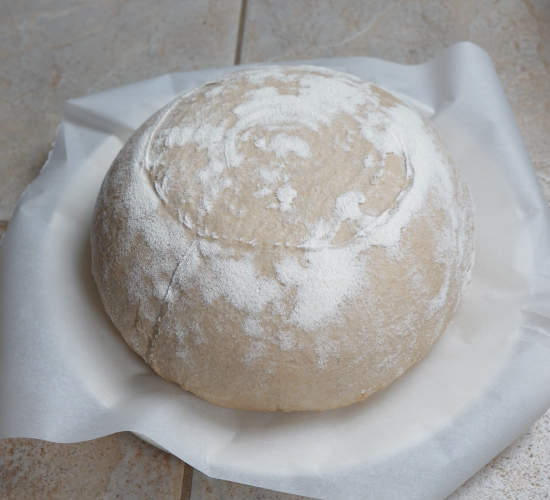
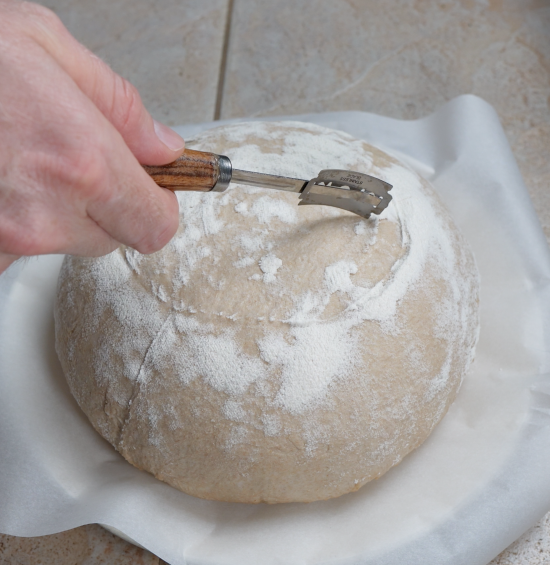
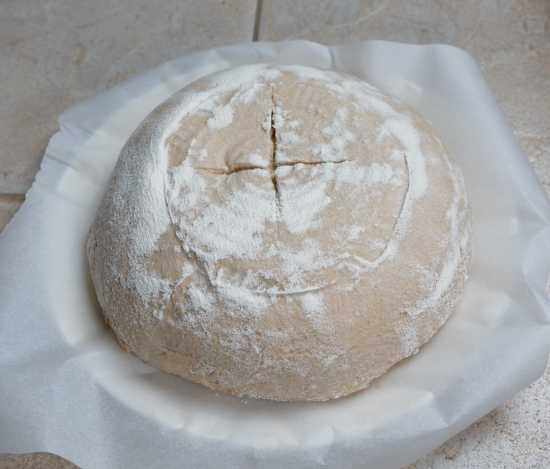
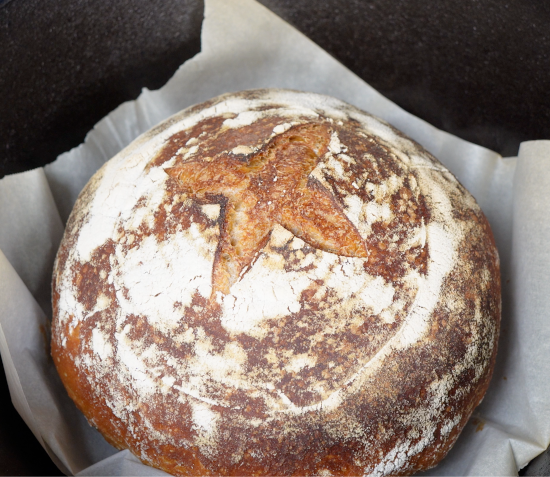
Use a bread lame or sharp knife to cut the top of the dough. For whole wheat sourdough I usually just keep it simple and cut an x on top. Scoring the dough helps the bread rise during baking.
Use oven mitts or a pot holder to remove the Dutch oven from the oven. Use the parchment paper to carefully lower the dough into the Dutch oven. Bake for 22 minutes with the lid on. Then bake for another 22 minutes with the lid off.
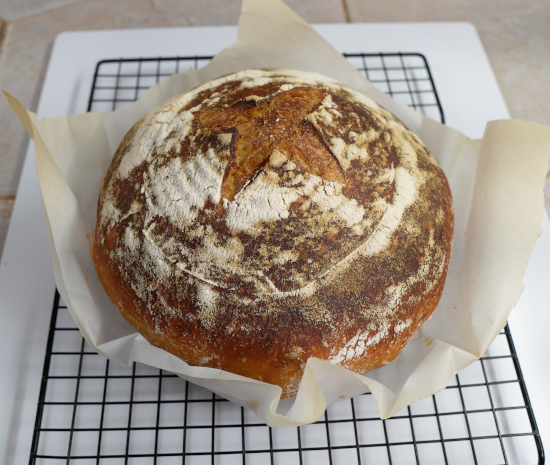
When the time elapses use oven mitts or pot holders to remove from the oven. Using a serving spoon or wooden spatula scoop under the loaf and allow to cool completely on a wire rack before cutting into.
Storage
The loaf will easily remain fresh for three to four days at room temperature in either a bread bag or Ziploc bag. After this point the freshness will start to taper off. Alternatively, you could slice the bread into slices that are of a more manageable size and place in whatever storage receptacles you have on hand. To increase the storage time you can also freeze part of the loaf to be used at a later date.
If you liked this recipe be sure to check out our other recipes below:
Ingredients
100 g leaven
405 g water
350 g whole wheat
150 g bread flour
9 g salt
Directions
- Day one – feed 70 g of starter discard with 70 g ( 1/4 cup ) of water and 70 g ( 1/2 cup ) of bread flour later in the day ( around 4-5 p.m. ). Stir to combine. Cover the lid of the mason jar, or bowl, with a dish towel and let the starter rise overnight.
- Day one – Using a baking scale weight the dry ingredients and store in a container or bowl.
- Day two – add water and active bubbly starter to a bowl or big container ( I use this 6 qt. container ). Then add the dry ingredients and mix until incorporated. But don’t stress too much if it feels very wet. Next allow the dough to rest for 30 minutes. This is also called the Autolyse process.
- Day two – Stretch and fold the dough, turn the container 90º and repeat three more times to complete a full circle. Then cover the bowl or container and allow the dough to rest for 20 – 30 minutes. Repeat this process three more times.
- Day two – allow the dough to bulk rise for between 4 – 6 hours.
- Day two – On a lightly floured surface, shape the dough by folding it over itself until all four sides have been pulled over and then flip that side to the bottom. Using a pastry scraper work the dough in small circles to make the dough tighter. Allow the dough to bench rest for 5 minutes.
- Day two – Add flour to a towel lined bowl or Sourdough Basket with or without a liner ( I use a basket with a floured liner ). Perform the final shape with the pastry scraper and then flip the dough into the floured basket so that the side that was the bottom of the dough is now facing up in the basket. Cover with a towel. From here you can allow the dough to rise for a few hours and bake the same day, or what I do is put the basket in the fridge and allow the dough to rise over night.
- Day three – if you allowed the dough to rise over night heat the oven to 450ºF with your Dutch Oven inside. When the oven is up to temperature line a plate with parchment paper. Flip the plate and parchment paper upside down so that it is lying on top of the basket. Then carefully flip everything over in unison and remove the basket.
- Day three – Score the dough with a bread lame. Carefully pull the Dutch Oven out of the oven and remove the lid. Using the parchment paper for support, pick up the loaf and drop it in the Dutch Oven slowly. Put the lid back on and put the Dutch Oven in the oven.
- Day three – Bake for 22 minutes. After the time elapses remove the lid from the Dutch Oven and bake for another 22 minutes. Remove the Dutch Oven and then remove the loaf using a wooden spatula or metal serving spoon and let rest on a wire rack. Let the loaf cool completely before cutting into.