We may receive a commission for purchases made through links on this page. Learn More
Description
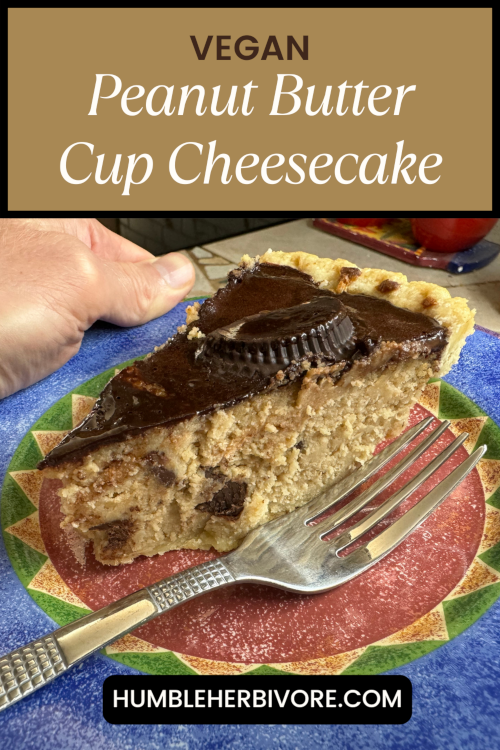
Looking for the best vegan peanut butter cup cheesecake around? Look no more! This recipe is a combination of creamy peanut butter, silky smooth vegan cream cheese and dark chocolate. A decadent trifecta of delicious goodness. Aside from being vegan this recipe can very easily be made gluten free.
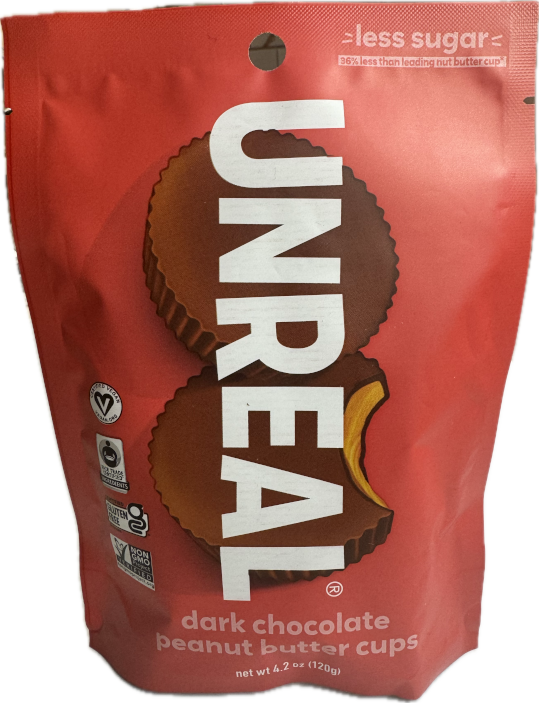
To make this recipe gluten free we only need to swap out two ingredients. For the pie crust you will want to get a vegan and gluten free unbaked pie shell. In place of the all-purpose flour you can substitute chickpea flour or add 1 tablespoon and a half of cornstarch. Everything else in this recipe should work for my gluten free friends. Even including the Unreal peanut butter cups.
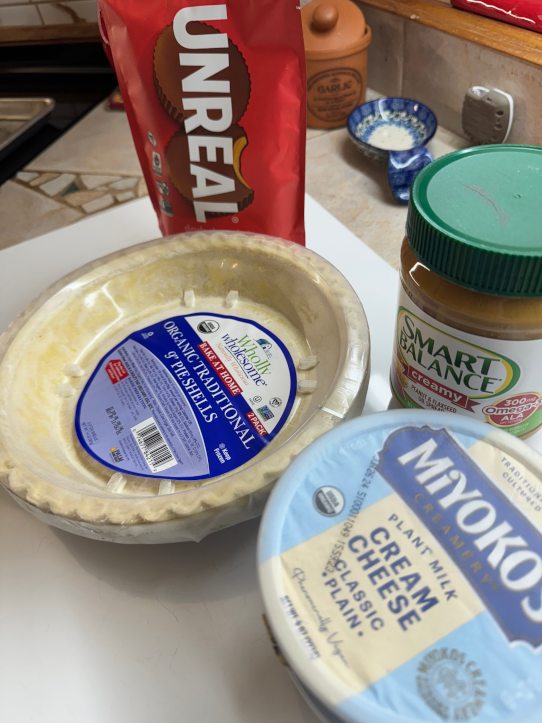
To start this recipe I like to set the frozen pie crust out to start thawing. But this recipe works equally well if you have an unbaked graham crust pie shell.
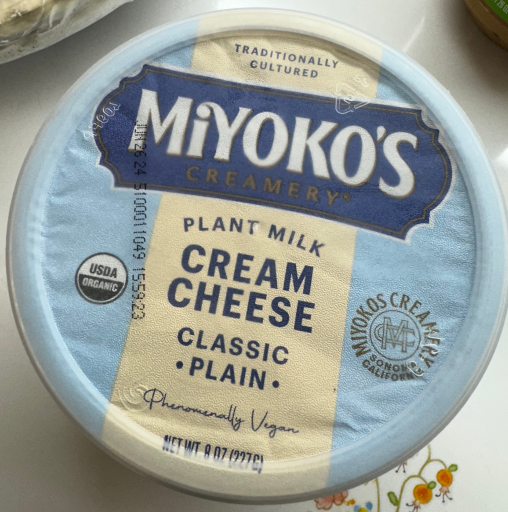
For this recipe I used Miyoko’s brand cream cheese. I also set this out on the counter to start softening. Which makes it a little easier to coax the cream cheese out of the containers. The standup mixer doesn’t have any complaints if you add them straight from the refrigerator. So choose what works easiest for you.
Next, using a food processor combine the silken tofu and sugar and blend until creamy and fully incorporated. The silken tofu will add some moisture and also act as a little bit of a binding agent. Plus the tofu will absorb whatever flavor is thrown add at it. In this case a lot of delicious dessert ingredients.
Once the sugar and tofu are mixed together add the mixture to the standup mixing bowl. From here we will add the cream cheese, peanut butter, vanilla extract, flour, and four of the Unreal peanut butter cups.
For the Unreal peanut butter cups I like to roughly chop them before adding them. The mixer will also break them up a little bit as it combines all the ingredients.
Once all the ingredients for the filling are in the mixing bowl turn the mixer on the lowest settings. Let the mixer run for a couple minutes or until all the ingredients are combined well. Preheat the oven to 350ºF.
After the oven comes up to temperature use a silicone spatula to add the filling to the pie shell. Scrape the bowl to remove as much of the filling as possible. Then using the spatula try to smooth the top of the pie filling as best as you can. It won’t be perfect but this will help later when we add the topping to the cheesecake.
When baking I prefer to place a sheet pan underneath the pie to move into, and out of, the oven. With some pies this can help contain the filling in the event of a spill. Obviously not a concern with this recipe but it still makes the transport phase a lot easier. Instead of awkwardly trying to handle the pie shell it is much easier to just grab the sheet pan.
Set a timer for 40 minutes and let the oven do its thing. At this interim I like to clean any dirty dishes and clean up any spills or mess that were created in any of the previous processes. After cleaning up I like to get out a cooling rack for the cheesecake to rest once it comes out of the oven. After the time elapses carefully pull the sheet pan and cheesecake out of the oven with an oven mitt and set it on the cooling rack.
At this stage I set a timer for another 30-45 minutes and let the cheesecake cool. We want the cheesecake to be somewhat cool before we add the chocolate topping.

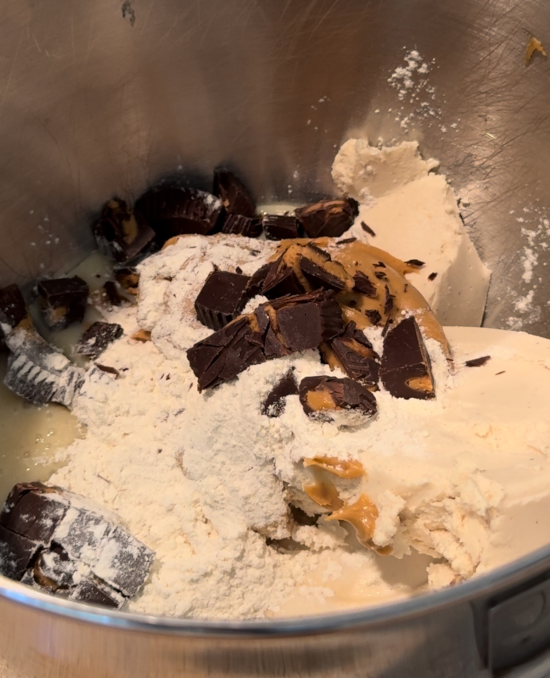


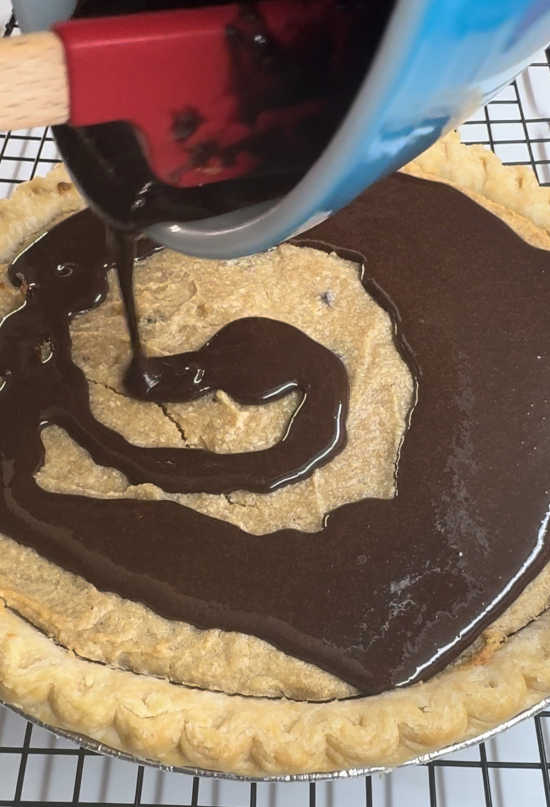
For the topping I like to microwave the maple syrup for 10-15 seconds to help it become less viscous. Then combine all the topping ingredients and mix thoroughly in a small bowl. Then making a small circle over the cheesecake spread the topping evenly.
Use a spatula to spread the topping over the top of the cheesecake. At this stage you can also cut the remaining Unreal peanut butter cups in half and place them on top of the cheesecake. I recommend laying them on their sides evenly around the top of the cheesecake after the chocolate sauce has been applied.
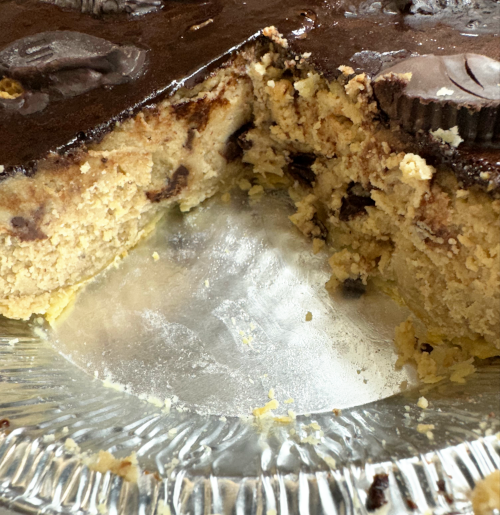
Let the cheesecake chill in the refrigerator for 6-12 hours. This will help both the topping and the cheesecake set. Plus this cheesecake is in peak form when completely chilled. The creamy deliciousness is worth the wait.
After cutting into initially, and ready to store, I suggest wrapping the top of the cheesecake with aluminum foil. This will help to retain the moisture level and keep it from drying out.
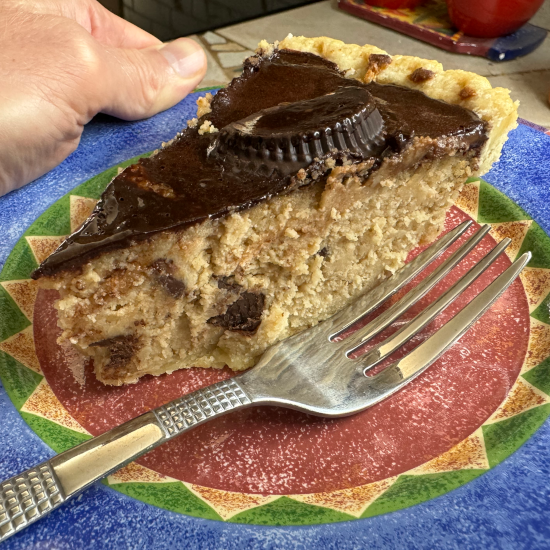
It should easily keep in the refrigerator for up to a week without a problem. But I doubt most of you will have that issue because of how quickly this cheesecake tends to vanish. Enjoy! 🙂
If you like this recipe be sure to check out our other recipes below:
Ingredients
Filling
2 8-ounce containers vegan cream cheese (Such as Miyoko’s)
1 cup silken tofu
1/2 cup sugar
1/2 cup smooth peanut butter
1 teaspoon vanilla extract
3 Tbsp. all-purpose flour
4 Unreal peanut butter cups, roughly chopped
Topping
1/4 cup cocoa powder
1/4 cup maple syrup
1 teaspoon vanilla extract
4 Unreal peanut butter cups, cut in half
Directions
- In a food processor add the silken tofu and sugar and blend until fully incorporated and creamy.
- In a standing mixer add the tofu mixture, vegan cream cheese and Unreal peanut butter cups.
- Add peanut butter, vanilla extract and flour to mixer and combine until consistent throughout.
- Fill the pie crust and try to smooth the top of the filling with a spatula or knife. Bake at 350ºF for 40 minutes.
- Once finished baking, allow the cheesecake to cool completely on a wire rack.
- While the cheesecake is cooling, combine maple syrup, cocoa powder, and vanilla extract in a small bowl. Stir until the mixture is smooth. Spread the topping evenly over the cheesecake before refrigerating. Then add the remaining Unreal peanut butter cups to the top.
- Allow the cheesecake to set in the refrigerator for a few hours. For optimal results allow the cheesecake to set overnight before serving.