We may receive a commission for purchases made through links on this page. Learn More
Description

Fresh homemade sourdough is hard to beat and easy to create. With only four ingredients and a little time you too can have delicious homemade sourdough. But like most things, having a solid process helps. I have outlined the strategy I use in the recipe below to make weekly sourdough. The one assumption I make is that you have an active sourdough starter or discard that you can feed and use for this recipe.
The time component can seem overwhelming to new sourdough bakers. Which is understandable, we are used to baking in 30 – 45 increments. Although, most sourdough baking processes span several days, the actual time spent working the dough is less than an hour.
The process utilized to work the dough is called stretch and fold. Which means there is no need (and no kneading) for a rolling pin but a good quality bread board will come in handy when performing the final shape with a pastry scraper.
As the name implies, the stretch and fold process involves stretching the dough, in a container or bowl, and folding it back onto itself. This process works the gluten in the dough and helps add elasticity.
To perform the stretch and fold, you first need to turn the bowl or container with one hand and using the other hand try to scoop the dough to create separation underneath.
Once you have circled the container once or twice grab a handful of dough and stretch it vertically. Then fold it back over itself. Turn the container 90º and repeat for a total of four times. Then let the dough rest for 20-30 minutes and repeat.
I have attached a YouTube Short video that shows the process quickly. After you repeat the process several times the dough will start to have a lot of elasticity built up.
After performing three to four rounds of stretch and folds, and letting the dough proof for 4-6 hours, it is time to shape the dough. This is where having a good bread board and pastry scraper pay dividends.
After lightly flouring the bread board place your dough in the center. Then as if there is an invisible compass over the dough you want to fold each corner to one another. Four folds in total.
After the first round of shaping is complete I let the dough rest for five minutes. This is also called bench rest. With a lower hydration dough like this one you can probably let it rest longer.
The main point of the bench rest phase is to let the dough relax before shaping again. This helps to increase the surface tension. From here we want to flip the shaped dough into a floured proofing basket, cover with a towel, and let proof overnight in the refrigerator.
At this stage we are comfortably in the home stretch. All that is left is to score the dough and to bake it in a Dutch Oven.
I have found it is best to have the oven come up to temperature first and then I will pull the dough from the refrigerator. Then I place a parchment paper lined plate on top of the proofing basket. Flipping everything in unison and gently coaxing the dough onto the plate.
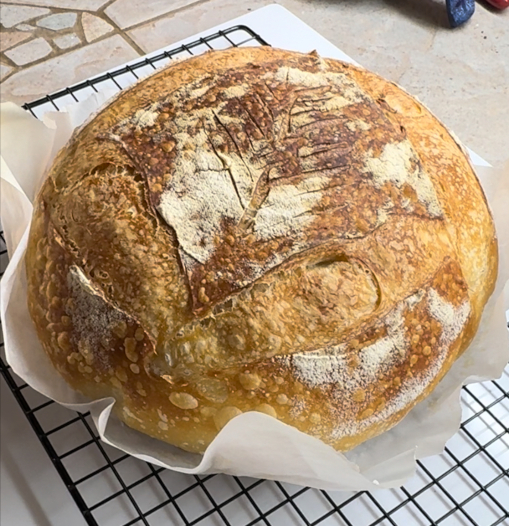
To score the dough you will need a bread lame or sharp knife. If you are just starting out with sourdough baking this cut doesn’t have to be fancy. A simple ‘X’ as close to the center of the top of the loaf will do.
To bake the loaf you will want to have the Dutch Oven preheated in the oven. Carefully remove from the oven and place the loaf in the Dutch Oven using the parchment paper to lower into the pot. Cover the Dutch Oven and bake half with the lid on and half with the lid off. The steam in the Dutch Oven will help the loaf rise as well as give it a nice crust.


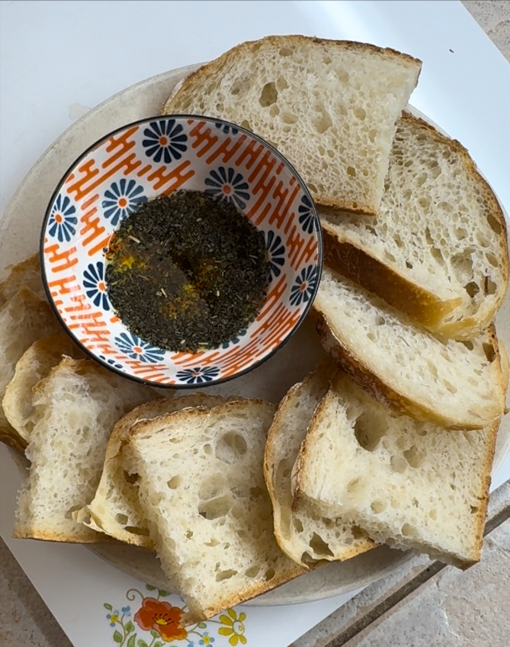
This sourdough recipe goes great with Lemon Lentil Soup with Collards and Potatoes or Red Lentil Soup. If pasta is more your style you might consider pairing this recipe with Lentil Bolognese with Mushrooms, Sweet Peas, and Carrots. If you are looking for another sourdough recipe to try, check out our Rustic Sourdough recipe.
Ingredients
100 g leaven aka Sourdough Starter
355 g water
500 g bread flour
9 g salt
Directions
- Day one – feed 70 g of starter discard with 70 g ( 1/4 cup ) of water and 70 g ( 1/2 cup ) of bread flour later in the day ( around 4-5 p.m. ). Stir to combine. Cover the lid of the mason jar, or bowl, with a dish towel and let the starter rise overnight.
- Day one – Using a baking scale weight the dry ingredients and store in a container or bowl.
- Day two – add water and active bubbly starter to a bowl or big container ( I use the 6 qt. container from this set ). Then add the dry ingredients and mix until incorporated. But don’t stress too much if it feels very wet. Next allow the dough to rest for 30 minutes. This is also called the Autolyse process.
- Day two – Stretch and fold the dough, turn the container 90º and repeat three more times to complete a full circle. Then cover the bowl or container and allow the dough to rest for 20 – 30 minutes. Repeat this process three more times.
- Day two – allow the dough to bulk rise for between 4 – 6 hours.
- Day two – On a lightly floured surface, shape the dough by folding it over itself until all four sides have been pulled over and then flip that side to the bottom. Using a pastry scraper work the dough in small circles to make the dough tighter. Allow the dough to bench rest for 5 minutes.
- Day two – Add flour to a towel lined bowl or Sourdough Basket with or without a liner ( I use a basket with a floured liner ). Perform the final shape with the pastry scraper and then flip the dough into the floured basket so that the side that was the bottom of the dough is now facing up in the basket. Cover with a towel. From here you can allow the dough to rise for a few hours and bake the same day, or what I do is put the basket in the fridge and allow the dough to rise over night.
- Day three – if you allowed the dough to rise over night heat the oven to 450ºF with your Dutch Oven inside. When the oven is up to temperature line a plate with parchment paper. Flip the plate and parchment paper upside down so that it is lying on top of the basket. Then carefully flip everything over in unison and remove the basket.
- Day three – Score the dough with a bread lame. Carefully pull the Dutch Oven out of the oven and remove the lid. Using the parchment paper for support, pick up the loaf and drop it in the Dutch Oven slowly. Put the lid back on and put the Dutch Oven in the oven.
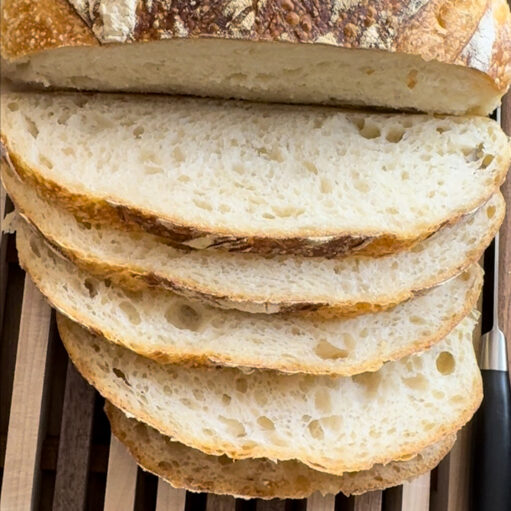
- Day three – Bake for 22 minutes. After the time elapses remove the lid from the Dutch Oven and bake for another 22 minutes. Remove the Dutch Oven and then remove the loaf using a wooden spatula or metal serving spoon and let rest on a wire rack. Let the loaf cool completely before cutting into.